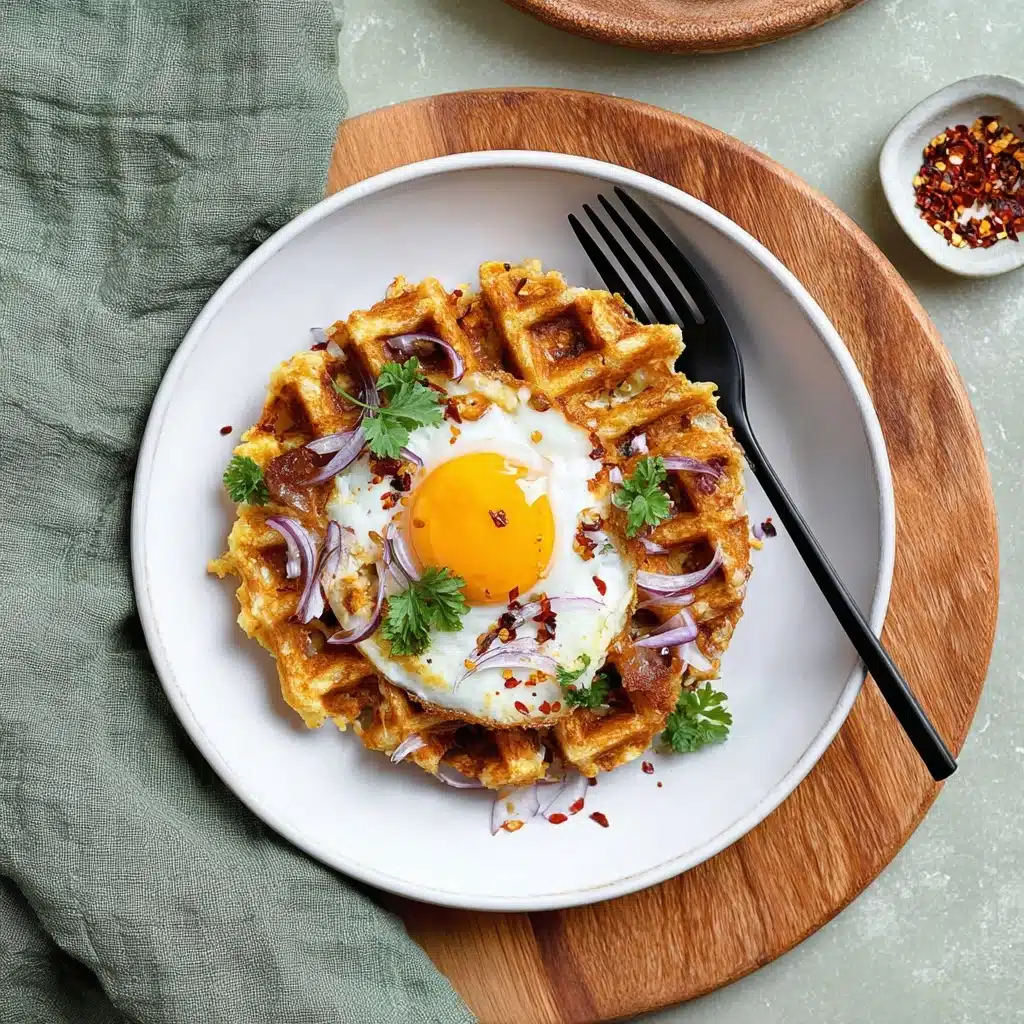
Cheesy Hash Brown Waffles Recipe
Let me introduce you to a game-changing breakfast treat that’s crispy, cheesy, and downright addictive: Cheesy Hash Brown Waffles. These golden beauties combine the crispy texture of hash browns with the fun, fluffiness of waffles, all packed with melty sharp cheddar and the perfect hint of herbs and garlic. Whether you’re looking to shake up your weekend brunch or impress your friends with something unique yet comforting, Cheesy Hash Brown Waffles will quickly become your new go-to recipe.
Ingredients You’ll Need
Ingredients You’ll Need
Gathering simple but flavorful ingredients is the first key to creating Cheesy Hash Brown Waffles that taste like pure magic. Each ingredient plays a crucial role, from the hearty potatoes providing that classic crispness to the sharp cheddar cheese adding a rich, melty punch.
- Potatoes (1 kg, peeled and grated): The star base that gives your waffles that irresistible crunch and body.
- Sea salt (1 tsp): Enhances and balances flavors perfectly throughout the batter.
- Sharp cheddar cheese (1 cup, grated): Adds a creamy, savory depth, and can be adjusted to your cheese love level.
- Eggs (2 large, beaten): Bind everything together and give structure so your waffles hold their shape.
- Garlic (3 cloves, minced): Injects a fragrant punch that elevates the whole dish.
- Dried marjoram (2 tsp): Offers subtle herbal warmth; oregano works beautifully if you prefer.
- All-purpose flour (¼ cup): Helps the mixture hold together and create that waffle texture; gluten-free options work great too.
- Baking powder (1 tsp): Gives a light lift for fluffiness without compromising crispiness.
- Cooking oil spray (for waffle iron): Keeps those waffles from sticking while crisping to perfection—avocado oil is a fantastic choice.
How to Make Cheesy Hash Brown Waffles
Step 1: Prepare the Potatoes
Start by tossing your grated potatoes with sea salt and letting them sit for 5 to 10 minutes. This little resting period draws out excess moisture, which you’ll then squeeze out thoroughly to ensure your waffles crisp up beautifully without sogginess.
Step 2: Mix the Batter
Next, combine the drained potatoes with grated cheddar, beaten eggs, minced garlic, dried marjoram, flour, and baking powder in a large bowl. Stir well with a fork or spoon until all ingredients are evenly mixed. This flavorful mix is where your Cheesy Hash Brown Waffles really start to come together.
Step 3: Heat and Prepare the Waffle Iron
Preheat your waffle iron to medium heat — it’s important not to rush this step. A properly heated iron ensures the outside crisps up nicely while the inside stays tender and cheesy.
Step 4: Cook the Waffles
Spray your waffle iron generously with cooking oil spray. Pour about one cup of batter into the center and spread it evenly to fill the iron, or adjust the amount depending on your waffle iron’s size. Cook for 8 to 10 minutes, giving the potatoes enough time to become golden and crisp all over. Repeat this process with the remaining batter.
Step 5: Keep Warm and Serve
As you finish each batch, place your Cheesy Hash Brown Waffles on a baking sheet in an oven preheated to 200°F (100°C). This keeps them warm and crisp while you finish cooking the rest.
How to Serve Cheesy Hash Brown Waffles
Garnishes
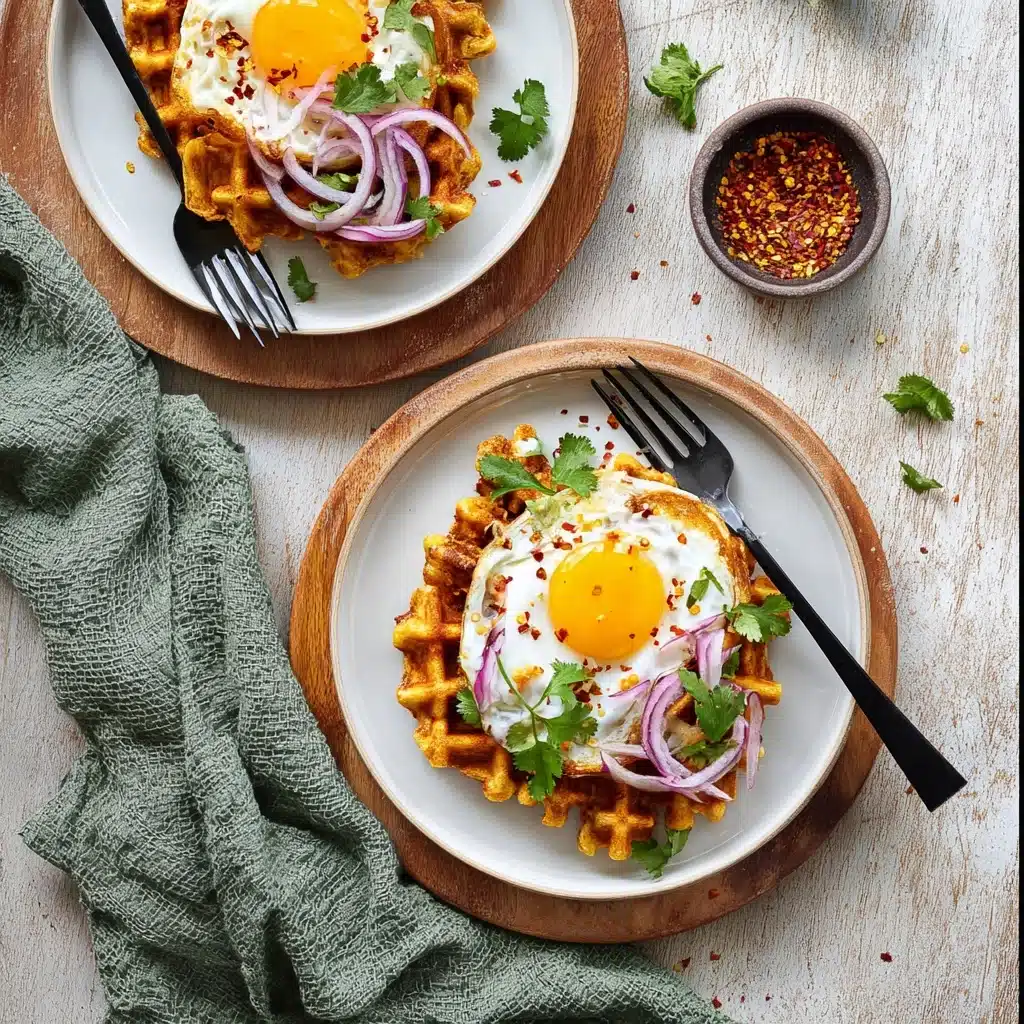
Garnishing these waffles is half the fun! Think fresh herbs like chives or parsley for a pop of color, or a dollop of sour cream to complement the cheddar’s richness. I personally love topping mine with sunny side-up eggs to add that luscious runny yolk texture.
Side Dishes
Cheesy Hash Brown Waffles pair beautifully with smoked salmon and vibrant pickled red onions, giving a perfect balance of savory, smoky, and tangy flavors. You can also serve them alongside crispy bacon or a fresh garden salad for a well-rounded meal.
Creative Ways to Present
Feeling adventurous? Use these waffles as a base for a breakfast sandwich stacked with avocado, egg, and bacon, or even topped with sautéed mushrooms and fresh arugula. They also make a fantastic canvas for your favorite brunch toppings, whether sweet or savory.
Make Ahead and Storage
Storing Leftovers
If you have leftovers (and trust me, you might!), place your cooled Cheesy Hash Brown Waffles in an airtight container or wrap them tightly in foil. They stay fresh in the fridge for up to 3 days and retain their great texture once reheated.
Freezing
These waffles freeze wonderfully. Let them cool completely, then separate each waffle with parchment paper and store in a freezer-safe bag. Frozen Cheesy Hash Brown Waffles keep well for up to 2 months, making them an easy grab-and-go meal anytime.
Reheating
The secret to reheating frozen or refrigerated Cheesy Hash Brown Waffles is to revive their crispiness. The best way is to pop them in a preheated toaster oven or regular oven at 375°F (190°C) for 8 to 10 minutes until hot and crisp again. Avoid microwaving to prevent soggy results.
FAQs
Can I use russet potatoes or another type?
Russet potatoes are actually perfect for Cheesy Hash Brown Waffles due to their starchy texture. Yukon Golds work well too but have a creamier consistency. Avoid waxy potatoes as they tend to hold more moisture and may yield soggy waffles.
What if I don’t have dried marjoram?
Don’t worry! Oregano or even a pinch of thyme can be wonderful substitutes. The herbs add warmth and depth, so choose what you like or have on hand.
Can I make these waffles dairy-free?
Absolutely! You can swap the cheddar for a dairy-free cheese alternative, though the flavor might be a little different. Just make sure your substitute melts well to keep the signature cheesy texture.
Is this recipe gluten-free?
It can be easily made gluten-free by using a gluten-free all-purpose flour blend, such as Bob’s Red Mill 1-to-1 gluten-free flour. This keeps the waffles crispy without any gluten.
How do I know when the waffles are cooked through?
Look for a golden brown color and a firm, crispy exterior. The cooking time is a bit longer than traditional waffles because of the potatoes, so don’t rush it. If the edges look dry and crisp, they’re ready!
Final Thoughts
If you’re craving a fresh, fun spin on traditional hash browns, do yourself a favor and make these Cheesy Hash Brown Waffles. They’re simple, satisfying, and seriously delicious. Once you bite into that crispy, cheesy goodness, you’ll understand why these waffles deserve a spot at your breakfast table — or any table, anytime.
Print
Cheesy Hash Brown Waffles Recipe
- Total Time: 55 minutes
- Yield: 8 waffles (approximate) 1x
- Diet: Vegetarian
Description
These Cheesy Hash Brown Waffles combine crispy, golden hash browns with sharp cheddar cheese, herbs, and garlic, cooked to perfection in a waffle iron. Perfect for a savory breakfast or brunch, they’re easy to make and can be served with a variety of toppings like eggs, smoked salmon, or pickled onions.
Ingredients
Main Ingredients
- 1 kg potatoes, peeled and grated
- 1 tsp sea salt
- 1 cup grated sharp cheddar cheese
- 2 large eggs, beaten
- 3 cloves garlic, minced
- 2 tsp dried marjoram (or oregano or both)
- ¼ cup all-purpose flour (can use gluten-free blend)
- 1 tsp baking powder
For Cooking
- Cooking oil spray (avocado oil recommended) or oil and brush for waffle iron
Instructions
- Prepare Potatoes: Add the grated potatoes to a bowl and sprinkle with sea salt. Toss thoroughly and let it sit for 5-10 minutes to draw out moisture. Then squeeze out as much excess water as possible using a clean kitchen towel or your hands.
- Mix Ingredients: In a large bowl, combine the drained potatoes, grated cheddar cheese, beaten eggs, minced garlic, dried marjoram or oregano, all-purpose flour, and baking powder. Mix well using a fork or spoon until evenly incorporated.
- Preheat Waffle Iron: Set your waffle iron to medium heat and allow it to preheat fully to ensure even cooking.
- Cook Waffles: Spray the waffle iron with cooking spray or lightly brush with oil. Add about 1 cup of the batter to the center and spread it flat to cover the waffle iron evenly. Cook for 8-10 minutes or until the waffles are golden brown and crispy, as potatoes take longer to cook than regular batter. Repeat with remaining batter.
- Keep Warm: Place cooked waffles on a baking sheet and keep them warm in an oven preheated to 200°F (100°C) while finishing the rest.
- Serve: Enjoy the cheesy hash brown waffles with your choice of toppings. Recommended pairings include sunny side-up eggs, smoked salmon, and pickled red onions.
Notes
- To reduce chewiness, make sure to squeeze out excess water from the grated potatoes.
- Adjust the amount of cheddar cheese to make waffles lighter or cheesier according to preference.
- You can substitute marjoram with oregano or use a mix of both for a different herbal flavor.
- For gluten-free version, use a gluten-free flour blend instead of all-purpose flour.
- Use avocado oil or another high smoke point oil for best results in the waffle iron.
- Keep cooked waffles warm in the oven to maintain crispiness while finishing the batch.
- Prep Time: 15 minutes
- Cook Time: 40 minutes
- Category: Breakfast, Brunch
- Method: Waffle Iron Cooking
- Cuisine: American
Nutrition
- Serving Size: 1 waffle (about 150g)
- Calories: 220 kcal
- Sugar: 1.2 g
- Sodium: 320 mg
- Fat: 12 g
- Saturated Fat: 6 g
- Unsaturated Fat: 5 g
- Trans Fat: 0 g
- Carbohydrates: 22 g
- Fiber: 2.5 g
- Protein: 8 g
- Cholesterol: 75 mg
Keywords: cheesy hash brown waffles, savory breakfast waffles, cheddar hash browns, potato waffles, brunch recipe


