Homemade Garlic Dill Pickles Recipe
Introduction
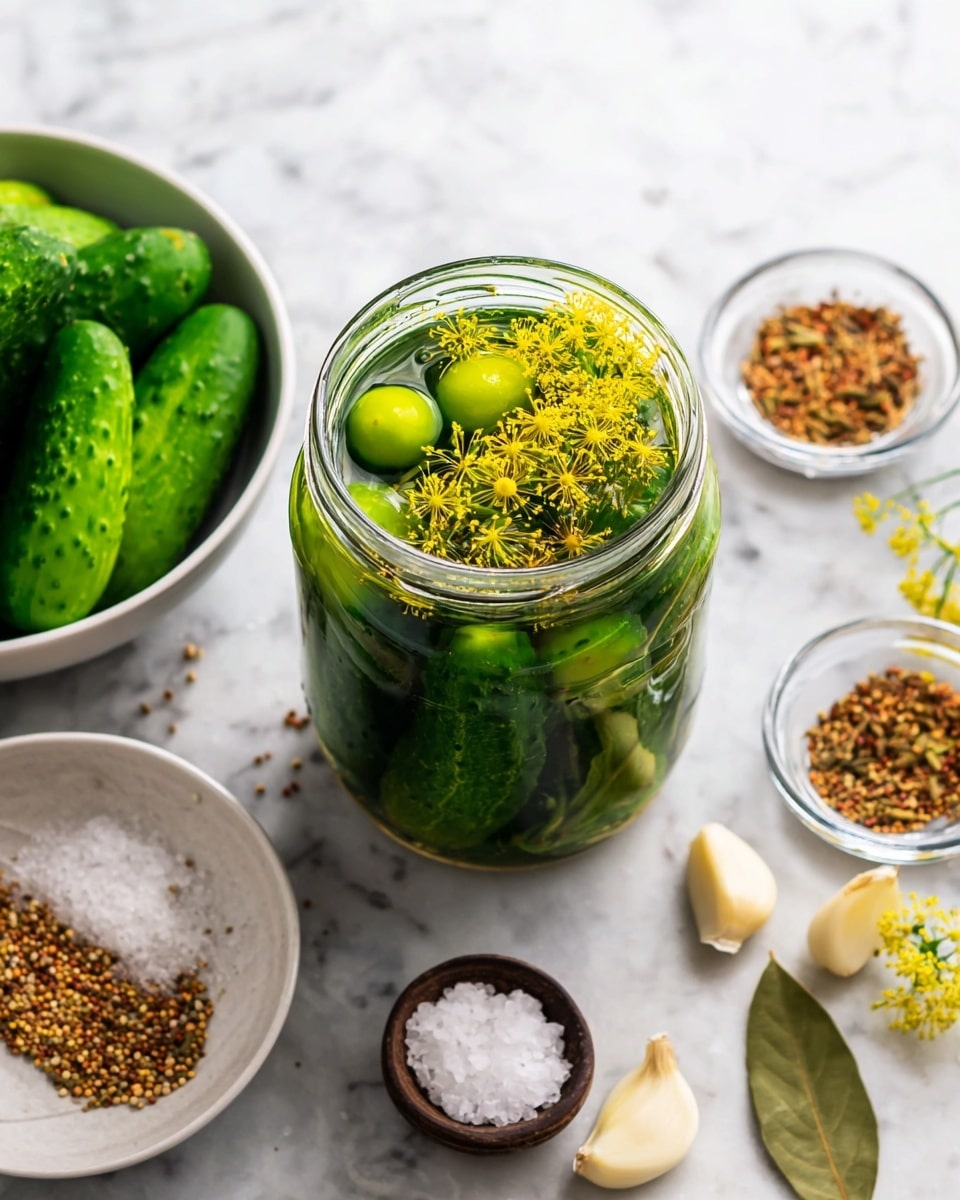
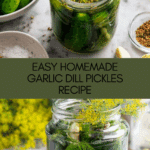
These homemade garlic dill pickles are crisp, tangy, and packed with fresh dill and garlic flavor. Perfect for preserving your summer cucumbers, this classic recipe brings the taste of a traditional pickle jar right to your kitchen.
Ingredients
- 5 lbs pickling cucumbers
- 5 cloves garlic; peeled and cut in half lengthwise
- 2 1/2 teaspoons pickling spices
- 5 heads of flowering fresh dill
- 4 cups water
- 4 cups white vinegar
- 1/2 cup pickling salt (or sea salt)
Instructions
- Step 1: Fill a hot water bath canner (with a canning rack) with water and bring to a boil.
- Step 2: Scrub and trim the pickling cucumbers, then leave them in a sink of cold water until ready to pack the jars.
- Step 3: Wash and inspect 6 pint jars and their lids, checking for chips, rust, or dents.
- Step 4: Place jars upside down in a large cake pan with an inch or two of water, and warm them in a 250°F oven for 10 minutes. Keep jars warm until filling.
- Step 5: Heat lids and lid rings in a pot of water until they just begin to boil.
- Step 6: Bring a kettle of water to a boil.
- Step 7: In a medium pot, combine water, vinegar, and salt; bring to a boil to dissolve the salt.
- Step 8: Clean and prepare garlic and dill heads.
- Step 9: Remove jars from the oven one at a time, adding one half of garlic clove followed by a flowering dill head into each jar.
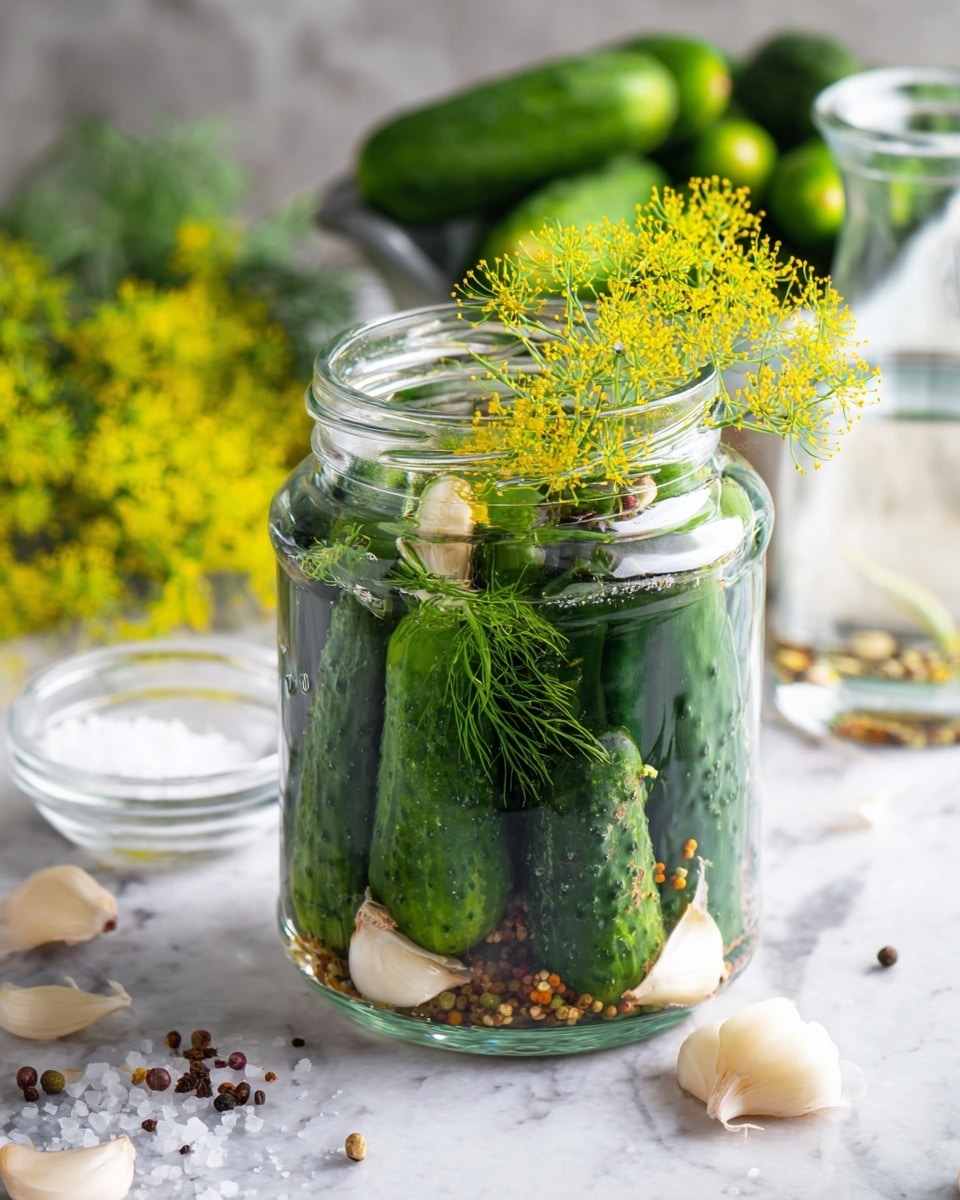
- Step 10: Pack cucumbers tightly into each pint jar until no more can fit.
- Step 11: Add another garlic half and 1/2 teaspoon pickling spices, then pour in hot brine, leaving about 1 cm of headspace.
- Step 12: Quickly cover jars with hot lids and screw on sealing rings just until snug.
- Step 13: Place jars in the canning rack and repeat with remaining jars.
- Step 14: Lower the canning rack into the canner, ensuring the jars are covered by at least one inch of water.
- Step 15: Process jars at a rolling boil for 10 minutes at sea level (or 20 minutes above 3000 ft), adding boiling water as needed.
- Step 16: Remove jars and let them sit undisturbed on the counter overnight. Verify seals by checking that lids are depressed in the center; refrigerate any unsealed jars.
- Step 17: Allow pickles to sit in the brine for a few weeks for best flavor before enjoying.
Tips & Variations
- Use fresh, firm cucumbers for the best crunch and flavor.
- For extra garlic punch, add additional garlic cloves per jar.
- If you prefer a spicier pickle, include a few slices of fresh jalapeño or red pepper flakes.
- Adjust pickling spices to your taste; some like more coriander or mustard seed for different flavor notes.
Storage
Store sealed jars in a cool, dark place for up to a year. Once opened, refrigerate and consume within 1 to 2 months. Pickles improve in flavor after a few weeks of brining, so patience is rewarded!
How to Serve
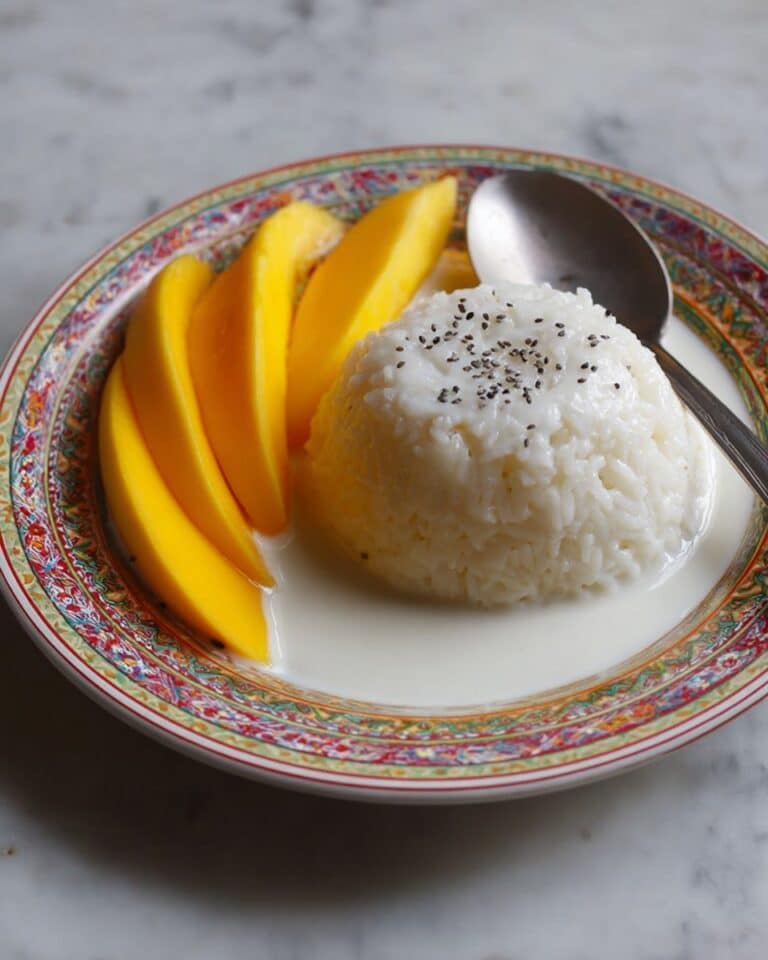
Serve this delicious recipe with your favorite sides.
FAQs
How do I know if my pickles sealed properly?
A proper seal is indicated by the lid being depressed in the center, making a concave shape. If the lid still pops when pressed, the jar has not sealed and should be refrigerated and used soon.
Can I use regular table salt instead of pickling salt?
Pickling salt is preferred because it doesn’t contain additives that can cloud the brine or affect flavor. If using table salt, avoid iodized salt and reduce the amount slightly to prevent off-flavors.
Print
Homemade Garlic Dill Pickles Recipe
- Total Time: 10 minutes processing time plus several weeks for pickling flavor development
- Yield: Approximately 6 pints 1x
Description
These Homemade Garlic Dill Pickles are a classic, crisp, and tangy treat made from fresh pickling cucumbers, aromatic garlic, and flavorful dill heads, preserved in a perfectly balanced brine of vinegar, water, salt, and pickling spices. Perfect for canning and enjoying over several weeks, these pickles bring a refreshing crunch and a burst of savory flavor to sandwiches, snacks, and salads.
Ingredients
Pickles and Flavorings
- 5 lbs pickling cucumbers
- 5 cloves garlic, peeled and cut in half lengthwise
- 5 heads flowering fresh dill
- 2 1/2 teaspoons pickling spices
Brine
- 4 cups water
- 4 cups white vinegar
- 1/2 cup pickling salt (or sea salt)
Instructions
- Prepare Hot Water Bath Canner: Fill a hot water bath canner with water and bring it to a boil, ensuring you have a canning rack inside for the jars.
- Prepare Cucumbers: Scrub and trim the pickling cucumbers, then leave them submerged in a sink filled with cold water until you are ready to pack the jars to keep them crisp.
- Clean Jars and Lids: Wash and inspect six pint jars and their lids for any chips, rust, or dents. Prepare one extra jar in case of breakage.
- Warm Jars: Place jars upside down in a large cake pan with an inch or two of water. Heat them in a 250°F oven for 10 minutes to warm and sterilize, then keep warm until use.
- Heat Lids and Rings: Place lids and lid rings in a pot, cover with water, and heat until just boiling to soften the sealing compound.
- Boil Water for Brine: Bring a kettle of water to a boil for topping up the canner, if needed.
- Prepare Brine: In a medium pot, combine water, vinegar, and pickling salt. Bring to a boil, stirring until the salt fully dissolves, to make your pickling brine.
- Prep Garlic and Dill: Peel and halve the garlic cloves and ensure the dill heads are clean and ready to use.
- Fill Jars: Remove jars one at a time from the oven, add one garlic half and one flowering dill head to each jar.
- Pack Cucumbers: Arrange cucumbers tightly into each pint jar until no more can fit, maximizing the amount you can preserve.
- Add Remaining Flavors and Spices: Insert the remaining garlic halves into the jars, add 1/2 teaspoon of pickling spices to each, then pour hot brine over the cucumbers leaving a 1 cm (about 1/3 inch) headspace.
- Seal Jars: Quickly cover each jar with a hot lid and screw on the sealing ring just until snug, but not overly tight.
- Place in Canning Rack: Place jars into the canning rack and prepare to process in the canner.
- Adjust Water Level: Ensure the water level in the canner covers the jars by at least one inch. Add boiling water from the kettle or remove excess water as needed.
- Process Jars: Process the jars in the boiling water bath for 10 minutes at sea level or 20 minutes if above 3000 feet altitude, continuously boiling to safely preserve the pickles.
- Cool and Check Seals: Remove jars and let them sit undisturbed on the counter overnight. Check seals; lids should be depressed in the center indicating a proper seal. Refrigerate any jars that did not seal properly.
- Store and Wait: Allow the pickles to sit in the brine for several weeks to develop flavor before enjoying.
Notes
- Make sure all jars, lids, and utensils are properly sterilized to prevent spoilage.
- Use pickling cucumbers for best texture and flavor – slicing or regular cucumbers won’t hold up as well.
- Adjust processing time based on your altitude to ensure safe preservation.
- Keep cucumbers submerged in cold water before packing to maintain crispness.
- Store sealed jars in a cool, dark place and refrigerate after opening.
- If lids do not seal, the pickles should be refrigerated and consumed within a reasonable timeframe.
- For extra spicy pickles, add some dried chili flakes or sliced hot peppers to the jars.
- Prep Time: 30 minutes
- Cook Time: 20 minutes
- Category: Pickling
- Method: Baking, Boiling (Water Bath Canning)
- Cuisine: American
Keywords: garlic dill pickles, homemade pickles, canned pickles, pickling cucumbers, fermented vegetables, preserving cucumbers
