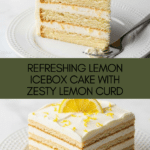
Lemon Icebox Cake Recipe
Introduction
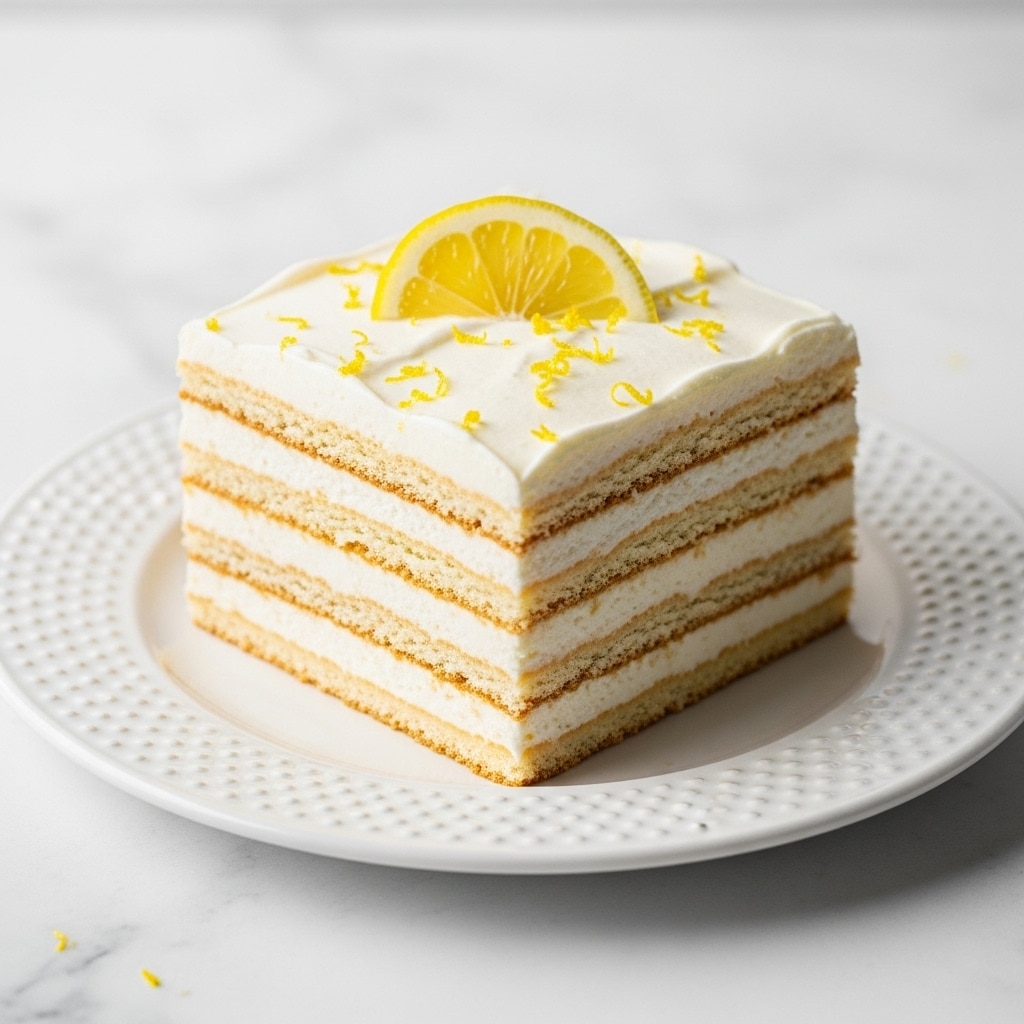
This Lemon Icebox Cake is a refreshing, creamy dessert perfect for warm days. Layers of zesty lemon cream cheese mixture, tangy lemon curd, and crisp Nilla wafers come together to create a light and delightful treat.

Ingredients
- 6 oz. cream cheese, softened to room temperature
- 1/2 cup powdered sugar
- 2 1/2 cups heavy cream
- Zest of two lemons
- 1 (11-oz.) box Nilla wafers
- 1 cup lemon curd, store-bought or homemade
- 1 lemon
- 1/4 cup simple syrup
Instructions
- Step 1: In the bowl of a stand mixer or a large bowl with a hand mixer, cream the softened cream cheese and powdered sugar on medium speed until smooth, about 2 minutes. Add the heavy cream and continue mixing on medium speed until medium peaks form, about 3 minutes. Gently fold in the lemon zest.
- Step 2: Spread 1 to 2 tablespoons of the cream cheese mixture onto the bottom of a 9″x13″ dish to prevent cookies from sliding. Arrange a single layer of Nilla wafers on top. Spread about one-third of the cream cheese mixture evenly over the cookies. Drizzle approximately half of the lemon curd over this layer and lightly swirl with a spatula. Add another cookie layer, then repeat the process, finishing with a layer of cream cheese mixture on top. Cover the dish with plastic wrap and freeze for 3 hours.
- Step 3: While the cake freezes, use a vegetable peeler to slice long strips of lemon peel, avoiding the white pith. Cut these strips into thin strips and soak them in simple syrup for at least 3 hours or up to a week in the refrigerator.
- Step 4: Remove the icebox cake from the freezer and garnish with the candied lemon peel. Return any leftovers to the freezer and consume within 7 days.
Tips & Variations
- For a brighter lemon flavor, use fresh homemade lemon curd if possible.
- Make sure the cream cheese is fully softened to avoid lumps in the cream mixture.
- Let the cake thaw slightly at room temperature for 10-15 minutes before serving for easier slicing.
- Try adding a layer of fresh berries between the wafers for a fruity twist.
Storage
Store the lemon icebox cake covered in the freezer for up to 7 days. To serve, let it sit at room temperature for 10 to 15 minutes to soften slightly for easier slicing and better texture.
How to Serve
Serve this delicious recipe with your favorite sides.
FAQs
Can I make this cake ahead of time?
Yes, this cake actually benefits from resting in the freezer for at least 3 hours. It can be made up to a week in advance and kept frozen until ready to serve.
What can I use instead of Nilla wafers?
You can substitute graham crackers or ladyfingers for a slightly different texture and flavor but similar results.
Print
Lemon Icebox Cake Recipe
- Total Time: 3 hours 20 minutes
- Yield: 12 servings 1x
- Diet: Vegetarian
Description
This refreshing Lemon Icebox Cake is a no-bake, layered dessert featuring creamy lemon-scented cream cheese filling, classic Nilla wafers, and tangy lemon curd. It’s chilled and frozen to create a luscious, cool treat garnished with candied lemon peel, perfect for warm days or anytime you crave a light citrus dessert.
Ingredients
Filling
- 6 oz. cream cheese, softened to room temperature
- 1/2 cup powdered sugar
- 2 1/2 cups heavy cream
- Zest of two lemons
Assembly
- 1 (11-oz.) box Nilla wafers
- 1 cup lemon curd, store-bought or homemade
Garnish
- 1 lemon (for peel)
- 1/4 cup simple syrup
Instructions
- Prepare the cream cheese mixture: In the bowl of a stand mixer or a large bowl using a hand mixer, beat the softened cream cheese and powdered sugar on medium speed until smooth, about 2 minutes. Add the heavy cream and continue to mix on medium speed until medium peaks form, about 3 minutes. Gently fold in the lemon zest to infuse fresh citrus flavor.
- Assemble the cake layers: Spread 1 to 2 tablespoons of the cream cheese mixture on the bottom of a 9×13-inch dish to prevent wafers from sliding. Arrange a single layer of Nilla wafers over the base layer. Spread about one-third of the cream cheese mixture evenly on top, then drizzle half of the lemon curd over the cream and lightly swirl it in to create a marbled effect. Add another layer of wafers and repeat the process, finishing with a final layer of cream cheese mixture on top. Cover the dish with plastic wrap and freeze for 3 hours to set.
- Prepare candied lemon peel: While the cake chills, use a vegetable peeler to carefully slice long strips of lemon peel, avoiding the bitter white pith underneath. Slice the strips into very thin strips and soak them in simple syrup. Let them candy for at least 3 hours, or refrigerate up to one week until ready to use.
- Garnish and serve: Once the cake has frozen and set, remove it from the freezer and garnish with the prepared candied lemon peel for a decorative and flavorful finishing touch. Store any leftovers in the freezer for up to 7 days to maintain freshness.
Notes
- This is a no-bake, chilled dessert ideal for hot weather or last-minute entertaining.
- To soften cream cheese quickly, leave it at room temperature for 30 minutes before mixing.
- Lemon curd can be homemade or store-bought; ensure it’s smooth and tangy for best flavor.
- Simple syrup can be made by dissolving equal parts sugar and water over low heat until clear and cooling before use.
- Candied lemon peel adds a bright, zesty garnish and can be stored refrigerated for up to a week.
- Freeze leftovers tightly covered to keep the wafer layers crisp and creamy filling fresh.
- Prep Time: 20 minutes
- Cook Time: 0 minutes
- Category: Dessert
- Method: No-Cook
- Cuisine: American
Keywords: Lemon Icebox Cake, no-bake lemon dessert, layered lemon cake, Nilla wafers dessert, lemon curd cake, summer dessert


