Peanut Butter Cake in a Mug Recipe
Introduction
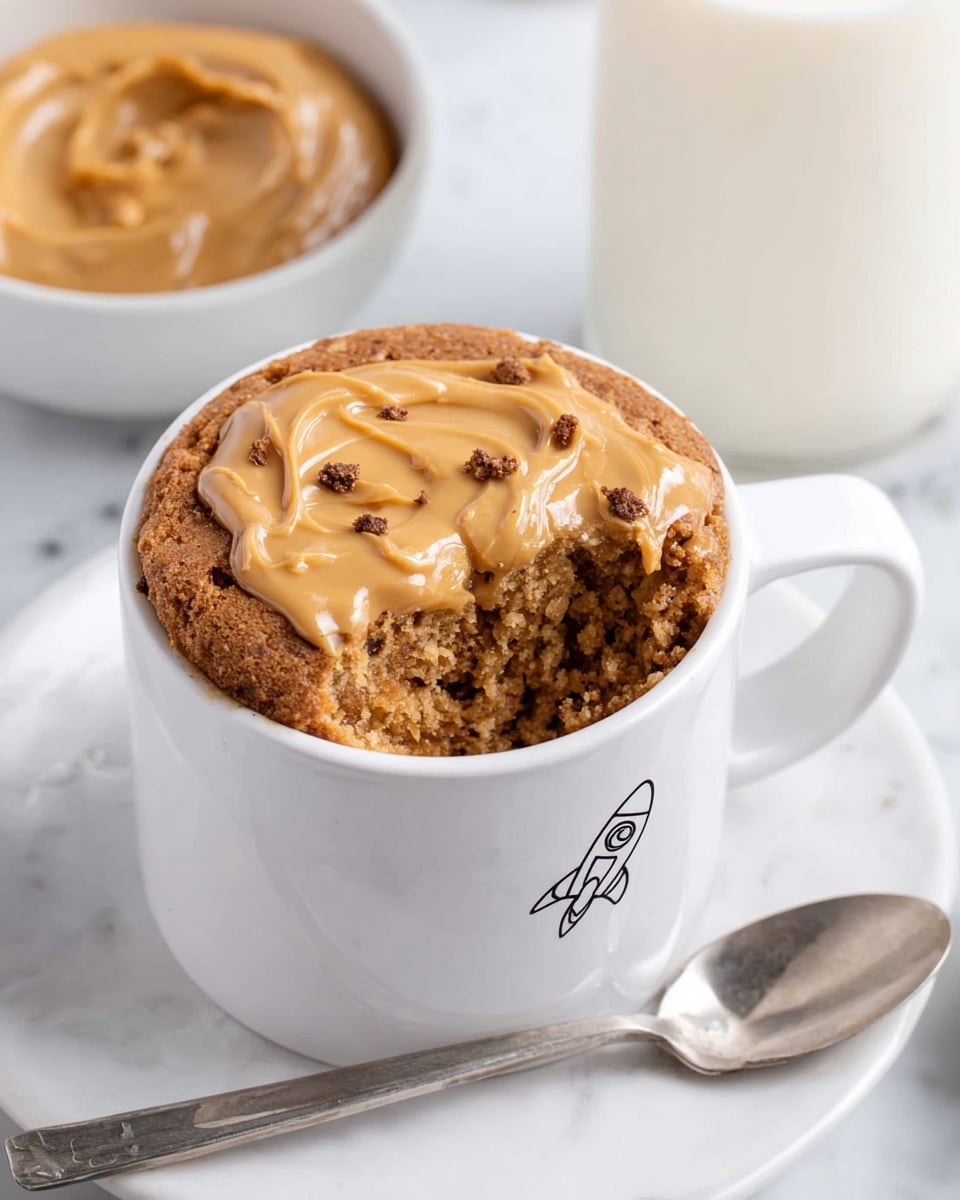
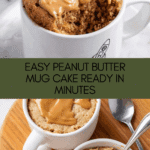
This Peanut Butter Cake in a Mug is a quick and satisfying dessert that’s perfect for any time you crave something sweet and nutty. Ready in just a few minutes, it’s an easy single-serving treat that combines rich peanut butter flavor with a moist, fluffy texture.
Ingredients
- 4 tablespoons self-rising flour
- 3 tablespoons granulated sugar
- 4 tablespoons creamy peanut butter
- 1 tablespoon creamy peanut butter (optional garnish)
- 3 tablespoons whole milk
- 3 tablespoons salted sweet cream butter, melted
- ½ teaspoon pure vanilla extract
Instructions
- Step 1: Add the self-rising flour and granulated sugar to a 14-ounce microwave-safe mug. Stir well to combine the dry ingredients evenly.
- Step 2: Add the creamy peanut butter, whole milk, melted butter, and vanilla extract to the mug. Stir thoroughly until the mixture is smooth and fully incorporated.
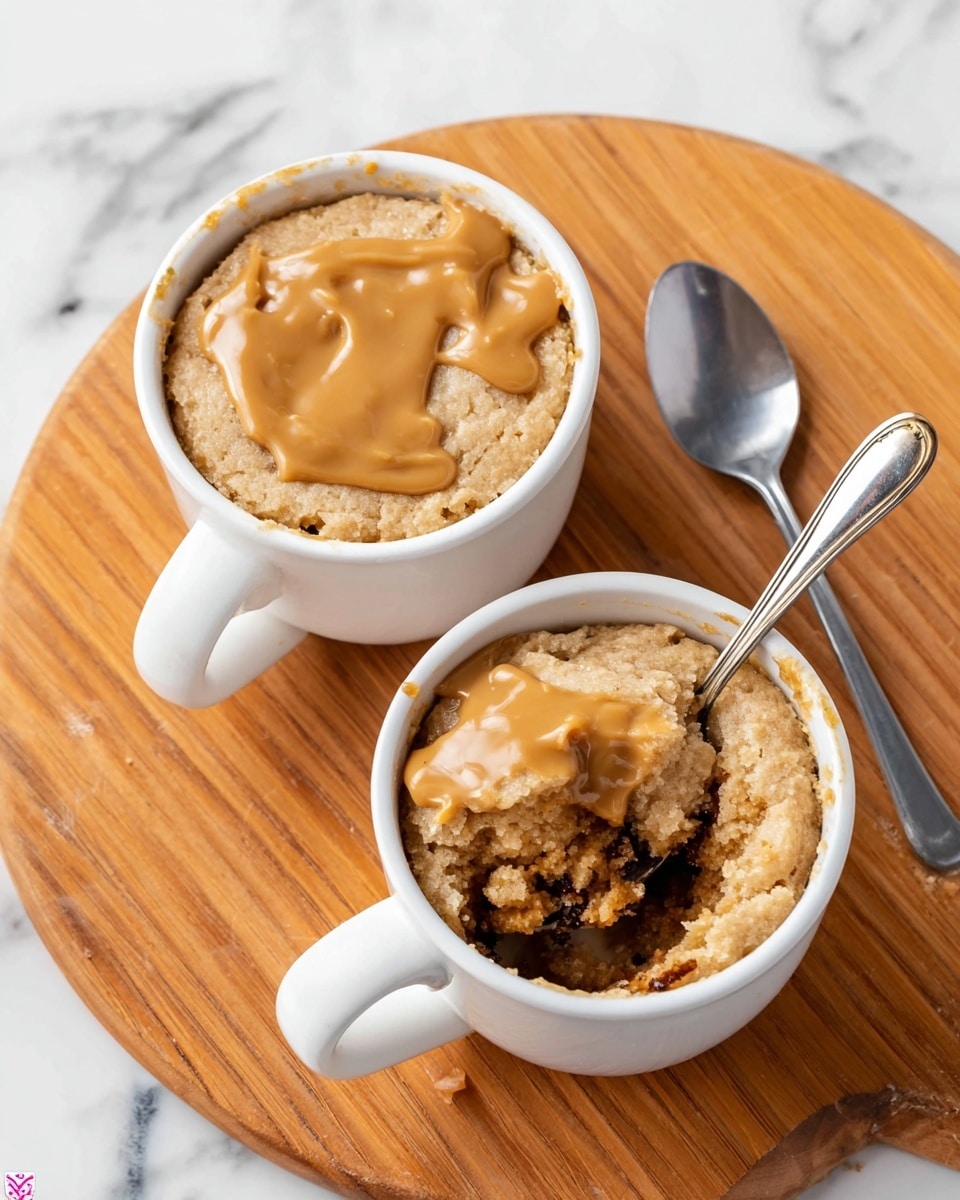
- Step 3: Microwave the mug cake for 1 minute 30 seconds to 1 minute 45 seconds, adjusting time as needed based on your microwave’s power. The cake should rise and be set but still moist.
- Step 4: Let the cake cool for a few minutes before serving. If desired, add 1 tablespoon of peanut butter on top while the cake is warm. The heat will melt it, allowing you to gently spread it across the surface for extra flavor.
Tips & Variations
- Use natural peanut butter for a more intense peanut flavor and less sweetness.
- Swap whole milk for almond or oat milk to make it dairy-free.
- Add a pinch of cinnamon or a few chocolate chips for extra flavor and texture.
- Make sure to use a microwave-safe mug at least 14 ounces in size to prevent overflow.
Storage
This mug cake is best enjoyed fresh but can be stored in an airtight container in the refrigerator for up to 2 days. To reheat, microwave for about 20-30 seconds until warmed through, being careful not to dry it out.
How to Serve
Serve this delicious recipe with your favorite sides.
FAQs
Can I use regular flour instead of self-rising flour?
You can use regular all-purpose flour, but you will need to add 1½ teaspoons of baking powder and ⅛ teaspoon of salt to replace the self-rising flour’s leavening.
What if my microwave is very powerful or weak?
Microwave times vary by model. Start checking the cake at 1 minute 30 seconds and add small increments of 10-15 seconds until the cake is cooked through but still moist.
Print
Peanut Butter Cake in a Mug Recipe
- Total Time: 7 minutes
- Yield: 1 serving 1x
Description
This Peanut Butter Cake in a Mug is a quick and delicious single-serving dessert perfect for satisfying your sweet tooth in minutes. Made with simple ingredients like self-rising flour, peanut butter, and sugar, this mug cake combines rich peanut flavor and moist texture thanks to melted butter and milk. Ready in under 5 minutes using just a microwave, it’s an ideal treat for whenever cravings strike.
Ingredients
Dry Ingredients
- 4 tablespoons self-rising flour
- 3 tablespoons granulated sugar
Wet Ingredients
- 4 tablespoons creamy peanut butter
- 3 tablespoons whole milk
- 3 tablespoons salted sweet cream butter, melted
- ½ teaspoon pure vanilla extract
Optional Garnish
- 1 tablespoon creamy peanut butter
Instructions
- Combine dry ingredients: Add the self-rising flour and granulated sugar to a 14-ounce microwave-safe mug. Stir thoroughly to mix the dry ingredients evenly.
- Add wet ingredients: Pour in the creamy peanut butter, whole milk, melted butter, and vanilla extract into the mug. Stir everything together well until completely incorporated and the batter is smooth.
- Microwave the cake: Place the mug in the microwave and cook on high for 1 minute 30 seconds to 1 minute 45 seconds, depending on your microwave’s power. The cake should rise and set but remain moist.
- Cool and garnish: Allow the cake to cool for a few minutes. Optional: add 1 tablespoon of peanut butter on top while the cake is still warm. The heat will melt the peanut butter, allowing you to gently spread it over the surface for an extra creamy topping.
Notes
- Cooking time may vary depending on the microwave wattage; start with 1:30 and adjust as needed.
- Use a microwave-safe mug at least 14 ounces to avoid overflow during cooking.
- For an extra moist cake, ensure the butter is fully melted before mixing.
- You can substitute salted sweet cream butter with unsalted butter plus a pinch of salt.
- Enjoy immediately for the best texture and flavor.
- Prep Time: 5 minutes
- Cook Time: 1 minute 45 seconds
- Category: Dessert
- Method: Blending
- Cuisine: American
Keywords: peanut butter mug cake, quick dessert, microwave cake, single serving cake, easy peanut butter dessert

