Rocky Road Christmas Pudding Recipe
Introduction
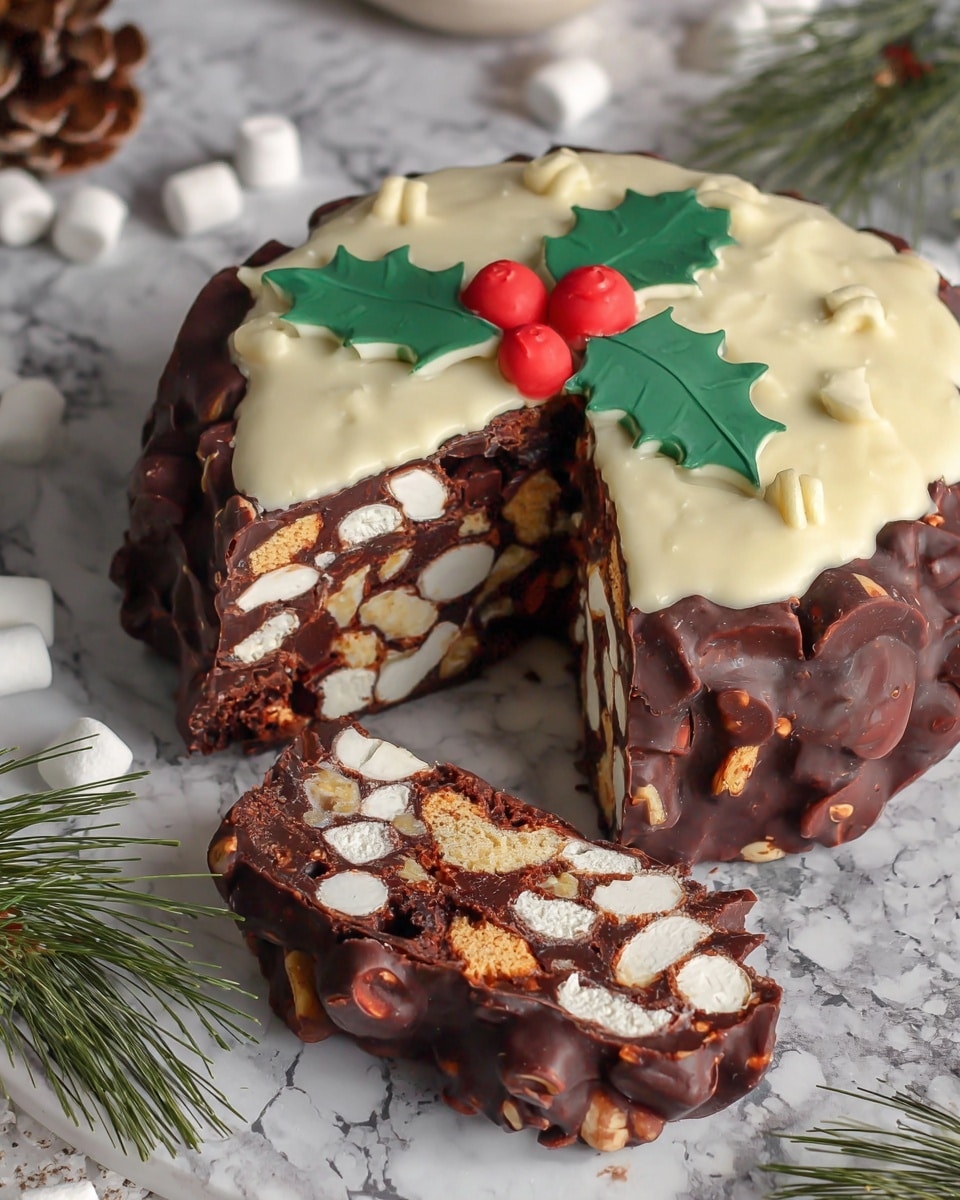
This Rocky Road Christmas Pudding is a festive twist on a classic treat, bursting with rich chocolate, crunchy biscuits, and sweet marshmallows. It’s no-bake, easy to make, and perfect for holiday gatherings or as a thoughtful homemade gift.
Ingredients
- 125 g golden syrup
- 125 g unsalted butter
- 200 g milk chocolate
- 200 g dark chocolate
- 100 g mini marshmallows
- 150 g digestives
- 150 g amaretti biscuits
- 100 g glacé cherries
- 100 g raisins
- 100 g white chocolate
- 75 g unsalted butter (for buttercream)
- 150 g icing sugar
- Green food colouring
- Red M&Ms
Instructions
- Step 1: Line a small to medium metal bowl with clingfilm, ensuring it is fully covered for easy removal later.
- Step 2: Finely chop the milk and dark chocolate and set aside.
- Step 3: Chop the digestives and amaretti biscuits into smaller pieces and place them in a mixing bowl. Add the mini marshmallows, raisins, and glacé cherries.
- Step 4: In a pan, melt 125 g unsalted butter with 125 g golden syrup over low heat. When fully melted, remove from heat and stir in the chopped chocolates.
- Step 5: If there are any lumps of chocolate remaining, return the pan briefly to the heat to melt the mixture completely.
- Step 6: Pour the melted chocolate mixture over the bowl of biscuits, marshmallows, and fruit. Mix well to combine all ingredients evenly.
- Step 7: Transfer the mixture into the lined bowl, pressing down firmly. Chill in the fridge for several hours or overnight until set solid.
- Step 8: Once set, melt the white chocolate and pour it over the top of the pudding to create a decorative topping. Allow it to cool and set.
- Step 9: Beat together 75 g unsalted butter and 150 g icing sugar until smooth. Add green food colouring until you achieve your desired shade.
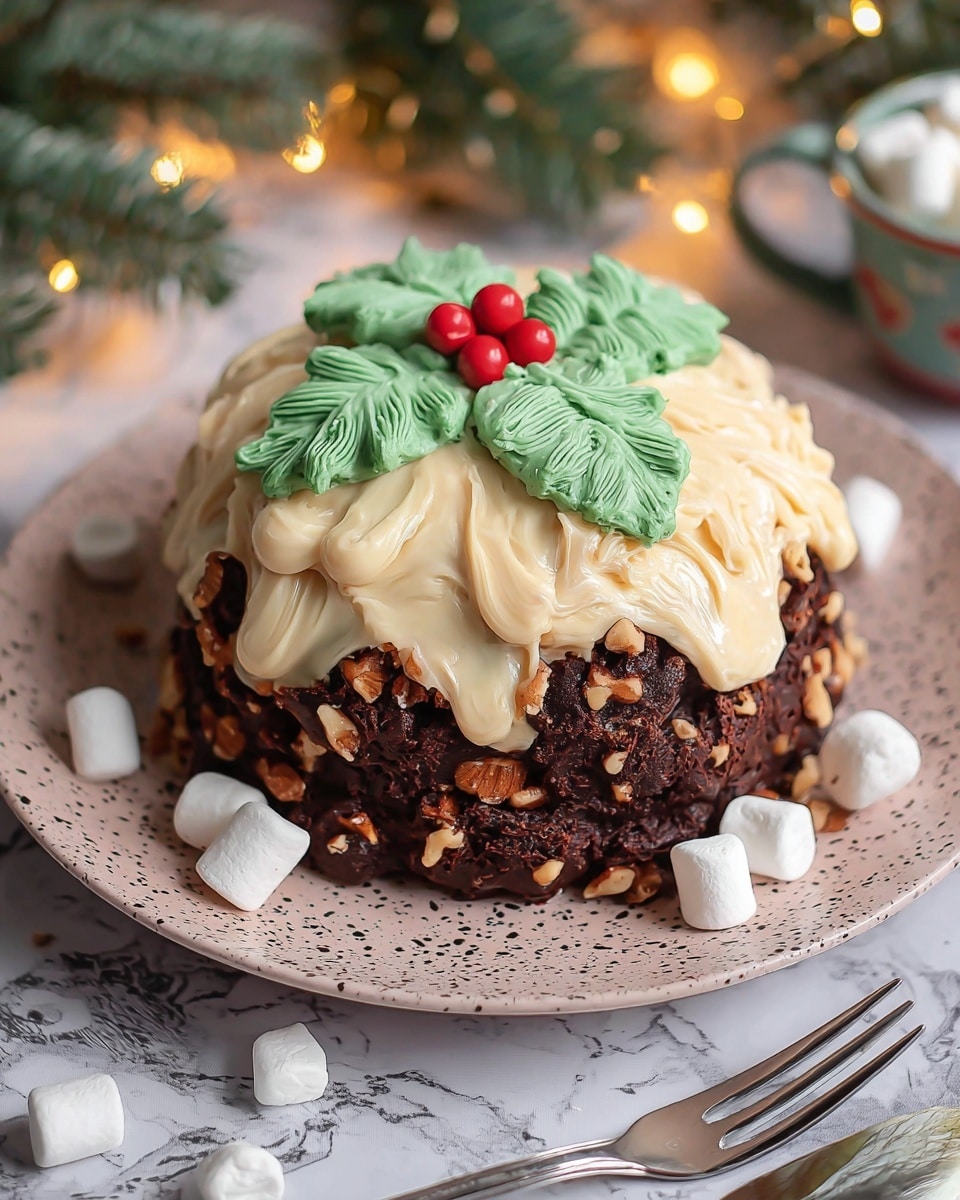
- Step 10: Pipe the green buttercream onto the pudding to resemble holly leaves.
- Step 11: Decorate with red M&Ms to mimic holly berries. Leave the pudding to set before serving.
Tips & Variations
- For extra texture, add chopped nuts like walnuts or pecans to the mix.
- Swap glacé cherries for dried cranberries or apricots if preferred.
- To make it dairy-free, use vegan butter and dairy-free chocolate alternatives.
- You can shape the pudding in any bowl or mold you like; just adjust the setting time accordingly.
Storage
Store the Rocky Road Christmas Pudding covered in the refrigerator for up to one week. It can also be frozen for up to three months; thaw it in the fridge overnight before serving. Enjoy chilled or let it come to room temperature for a softer texture.
How to Serve
Serve this delicious recipe with your favorite sides.
FAQs
Can I make this pudding ahead of time?
Yes, this pudding is ideal for making ahead. It needs several hours or overnight to set properly, making it great for preparing in advance of holiday celebrations.
What can I use instead of clingfilm?
You can line the bowl with parchment paper or use a silicone mold for a reusable option. Just ensure whatever you use can be removed easily when the pudding is set.
Print
Rocky Road Christmas Pudding Recipe
- Total Time: 3 hours 25 minutes (including chilling time)
- Yield: 8 servings 1x
- Diet: Vegetarian
Description
Rocky Road Christmas Pudding is a no-bake festive treat combining rich chocolates, crunchy biscuits, fruity morsels, and colorful decorations. This easy-to-make dessert is perfect for holiday celebrations, featuring layers of melted chocolate mixed with marshmallows, cherries, raisins, and crunchy amaretti and digestive biscuits. Set in the fridge and decorated with white chocolate and green buttercream holly, it’s both visually appealing and deliciously indulgent.
Ingredients
Chocolate Mixture
- 125 g golden syrup
- 125 g unsalted butter
- 200 g milk chocolate, finely chopped
- 200 g dark chocolate, finely chopped
- 100 g mini marshmallows
- 150 g digestive biscuits, chopped
- 150 g amaretti biscuits, chopped
- 100 g glacé cherries, chopped
- 100 g raisins
Decoration
- 100 g white chocolate
- 75 g unsalted butter
- 150 g icing sugar
- Green food colouring
- Red M&Ms for holly berries
Instructions
- Prepare the bowl: Line a small to medium metal bowl with clingfilm, ensuring the entire interior is covered to allow easy removal of the pudding later.
- Chop chocolates: Finely chop both milk and dark chocolates and set aside.
- Mix dry ingredients: Chop the digestive and amaretti biscuits into a mixing bowl, then add mini marshmallows, glacé cherries, and raisins or other desired ingredients.
- Melt butter and syrup: In a saucepan over low heat, melt the unsalted butter and golden syrup together until completely combined and the butter has fully melted.
- Add chocolate to melted mixture: Remove the pan from heat and stir in the chopped chocolates. The residual heat will melt them. If lumps remain, return briefly to heat, stirring until smooth.
- Combine chocolate mixture with dry ingredients: Pour the melted chocolate mixture into the bowl of chopped biscuits and fruit, mixing thoroughly to combine all ingredients evenly.
- Set the pudding: Transfer the mixture into the lined bowl, pressing down firmly to compact, then refrigerate for a few hours or overnight until fully set and firm.
- Decorate base layer: Once set, melt the white chocolate gently and pour over the top of the pudding as a decorative topping. Allow it to set.
- Prepare buttercream: Cream the unsalted butter and icing sugar together until smooth. Add green food colouring gradually to achieve the desired shade for holly leaves.
- Pipe buttercream decoration: Using a piping bag, create holly leaf shapes with the green buttercream on top of the white chocolate-covered pudding.
- Add berries and final set: Place red M&Ms scattered on the buttercream holly to mimic berries. Allow the decorated pudding to set completely before serving.
Notes
- Ensure the bowl is lined well with clingfilm to easily lift out the pudding after setting.
- Use a small or medium metal bowl for optimal shape and size.
- Chop ingredients uniformly for even texture and appearance.
- The pudding benefits from setting overnight for best firmness and flavor melding.
- Be careful when melting chocolate; avoid overheating to prevent burning.
- You can customize the mix-ins by adding nuts or different dried fruits if desired.
- Prep Time: 15 minutes
- Cook Time: 10 minutes
- Category: Dessert
- Method: No-Cook
- Cuisine: British
Keywords: rocky road, christmas pudding, festive dessert, no-bake dessert, chocolate pudding, holiday treat, easy christmas recipe


