White Chocolate Raspberry Loaf Cake Recipe
Introduction
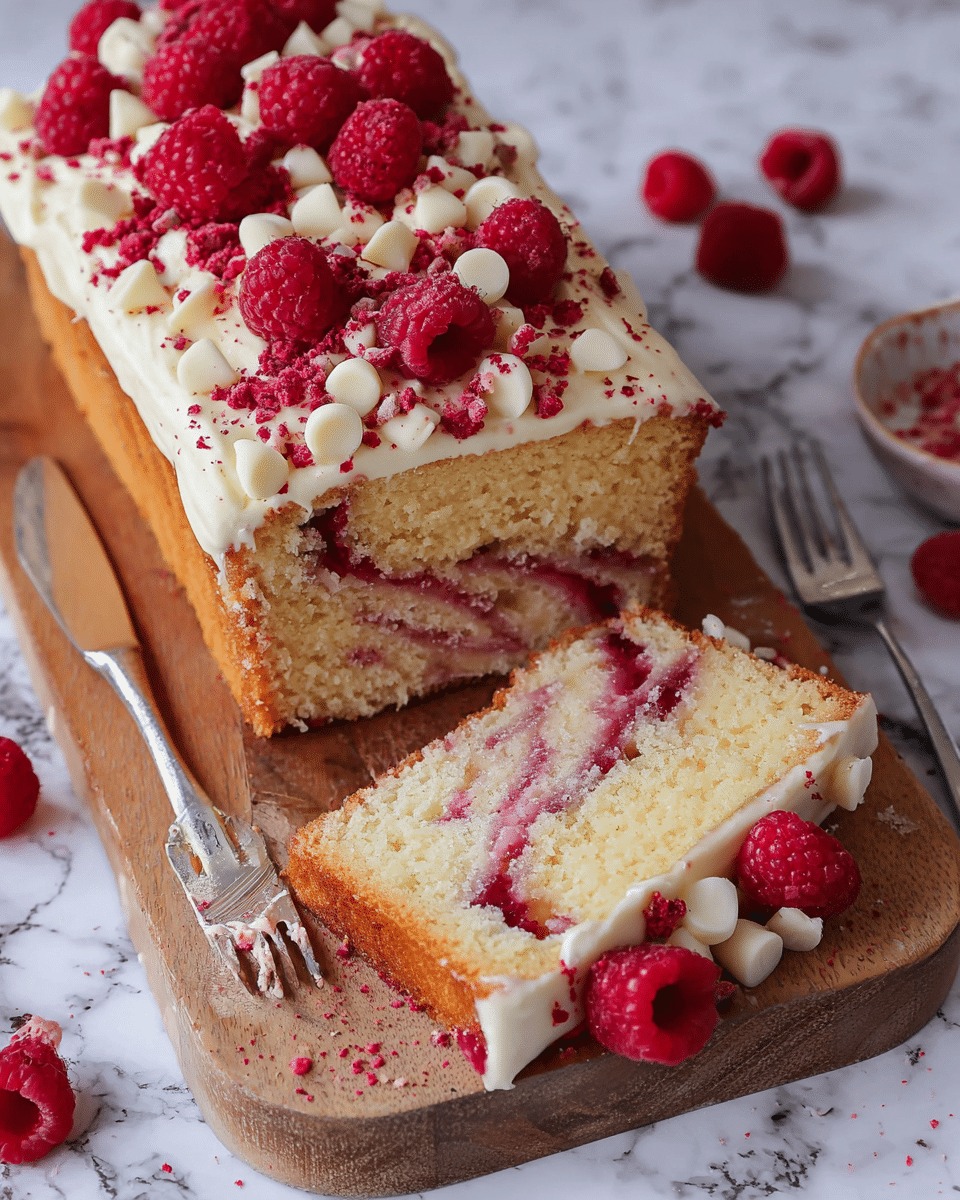
This White Chocolate Raspberry Loaf Cake combines the sweetness of white chocolate with the tartness of fresh raspberries for a moist, flavorful treat. Perfect for afternoon tea or a special dessert, this loaf is sure to delight both family and friends.
Ingredients
- 200 g unsalted butter
- 200 g caster sugar
- 200 g self-raising flour
- 4 medium eggs
- 200 g raspberries
- 150 g white chocolate chips or chunks
- 125 g unsalted butter (room temperature, for decoration)
- 250 g icing sugar
- 125 g white chocolate (for decoration)
- Additional fresh raspberries, freeze-dried raspberries, and white chocolate chips for decorating
Instructions
- Step 1: Preheat your oven to 180ºC (160ºC fan) and line a 2lb loaf tin with parchment paper.
- Step 2: Beat together 200 g unsalted butter and 200 g caster sugar until the mixture is light and fluffy.
- Step 3: Add the 200 g self-raising flour and 4 eggs, then beat again until the batter is smooth.
- Step 4: Gently fold in 200 g raspberries and 150 g white chocolate chips or chunks.
- Step 5: Pour the batter into the prepared loaf tin and bake for 55 to 65 minutes, until golden and a skewer inserted into the center comes out clean.
- Step 6: Let the cake cool in the tin for 10 minutes, then transfer it onto a wire rack to cool completely.
- Step 7: For the decoration, melt 125 g white chocolate until smooth and allow it to cool slightly.
- Step 8: Beat 125 g room temperature unsalted butter in a mixer until smooth, then gradually add 250 g icing sugar and continue beating until creamy.
- Step 9: Mix in the cooled melted white chocolate and beat again until fully combined.
- Step 10: Prepare a piping bag with your preferred nozzle and pipe the buttercream evenly over the cooled cake.
- Step 11: Decorate with fresh raspberries, freeze-dried raspberries, and extra white chocolate chips as desired.
Tips & Variations
- Use frozen raspberries if fresh are not available, but fold them in gently to prevent the batter from turning pink.
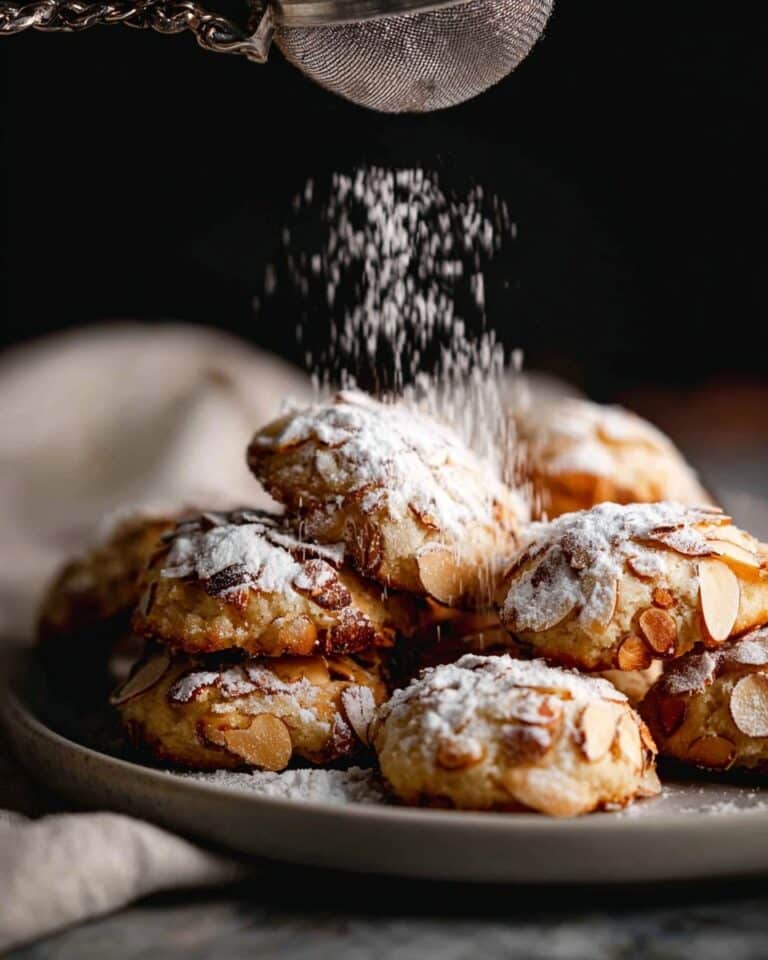
- For a crunchy texture, add chopped nuts such as almonds or hazelnuts to the batter.
- If you prefer a lighter decoration, dust the top with icing sugar instead of buttercream.
- To enhance the raspberry flavor, add a teaspoon of raspberry extract to the batter.
Storage
Store the loaf cake in an airtight container at room temperature for up to 3 days. For longer storage, refrigerate it for up to a week, allowing it to come to room temperature before serving. The cake freezes well for up to 2 months; thaw it overnight in the fridge. Reheat slices gently in a microwave for 10-15 seconds if desired.
How to Serve
Serve this delicious recipe with your favorite sides.
FAQs
Can I use regular flour instead of self-raising flour?
You can use plain flour, but you will need to add 1 ½ teaspoons of baking powder to the flour to help the cake rise properly.
How do I prevent the raspberries from sinking to the bottom?
Lightly coating the raspberries in flour before folding them into the batter helps keep them evenly distributed during baking.
Print
White Chocolate Raspberry Loaf Cake Recipe
- Total Time: 1 hour 20 minutes
- Yield: 1 loaf cake (serves 8-10) 1x
Description
A decadent and moist White Chocolate Raspberry Loaf Cake, featuring a tender crumb filled with juicy raspberries and creamy white chocolate chunks, topped with luscious white chocolate buttercream and garnished with fresh and freeze-dried raspberries alongside white chocolate chips for a delightful finish.
Ingredients
Cake
- 200 g unsalted butter
- 200 g caster sugar
- 200 g self-raising flour
- 4 medium eggs
- 200 g raspberries
- 150 g white chocolate chips or chunks
Buttercream Decoration
- 125 g unsalted butter, room temperature
- 250 g icing sugar
- 125 g white chocolate
Toppings
- Fresh raspberries
- Freeze dried raspberries
- White chocolate chips
Instructions
- Preheat and prepare tin: Preheat your oven to 180ºC (160ºC fan). Line a 2lb loaf tin with parchment paper to prevent sticking.
- Make the cake batter: Beat together 200 g unsalted butter and 200 g caster sugar until the mixture is light and fluffy, ensuring air is incorporated for a tender texture.
- Add dry and wet ingredients: Gradually add 200 g self-raising flour and 4 medium eggs to the butter and sugar mixture. Beat again until the batter is smooth and well combined.
- Fold in raspberries and white chocolate: Gently fold 200 g raspberries and 150 g white chocolate chips or chunks into the batter, taking care not to crush the raspberries to keep bursts of flavor.
- Bake the cake: Pour the batter into the prepared loaf tin. Bake in the preheated oven for 55-65 minutes, or until a toothpick inserted into the center comes out clean.
- Cool the cake: Allow the cake to cool in the tin for 10 minutes to firm up, then turn it out onto a wire rack to cool completely before decorating.
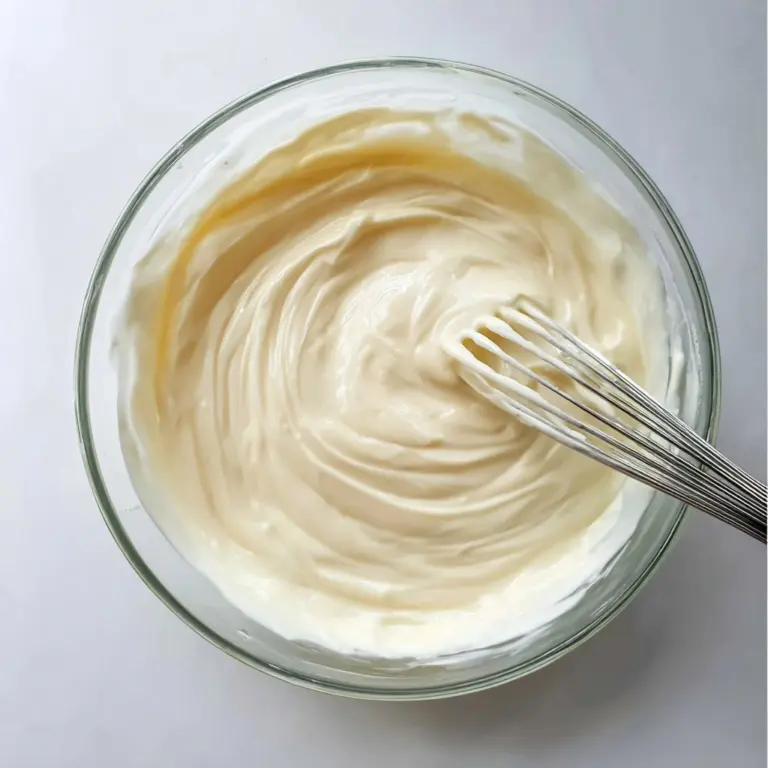
- Prepare the white chocolate buttercream: Melt 125 g white chocolate until smooth and let it cool slightly. In a mixer, beat 125 g room temperature unsalted butter for a few minutes until smooth.
- Combine buttercream ingredients: Add 250 g icing sugar to the butter and beat until smooth and fluffy. Then beat in the melted white chocolate until fully incorporated.
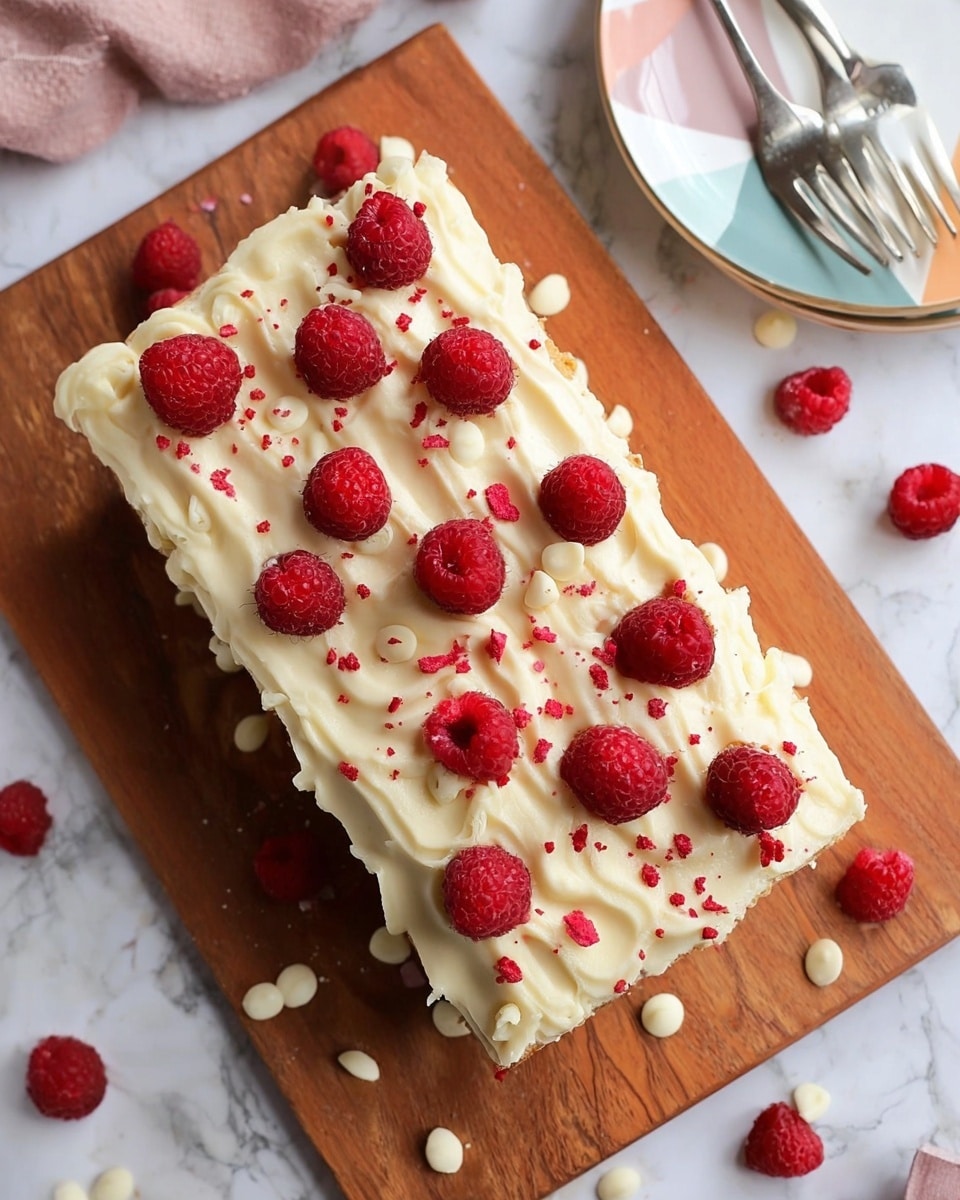
- Decorate the cake: Transfer the buttercream to a piping bag fitted with your desired nozzle. Pipe the buttercream onto the cooled cake creatively.
- Add final toppings: Garnish the piped buttercream with fresh raspberries, freeze dried raspberries, and white chocolate chips for texture, flavor, and visual appeal.
Notes
- Ensure the butter for the buttercream is at room temperature for a smooth consistency.
- Be gentle when folding in raspberries to avoid breaking them and discoloring the batter.
- If white chocolate is not available in chips, chop a white chocolate bar into small chunks.
- Check the cake at 55 minutes to avoid over-baking; oven temperatures can vary.
- Allow the cake to cool completely before decorating to prevent the buttercream from melting.
- Freeze dried raspberries add a pleasant crunch and intense tartness complementing the sweet white chocolate.
- Prep Time: 20 minutes
- Cook Time: 60 minutes
- Category: Dessert
- Method: Baking
- Cuisine: British
Keywords: white chocolate raspberry loaf, white chocolate cake, raspberry cake, loaf cake, buttercream frosting, homemade cake

