Danish Pastries with Shortcut Homemade Dough Recipe
Introduction
Danish pastries are a delightful treat known for their flaky, buttery layers and sweet fillings. This recipe uses a shortcut homemade dough method that simplifies the process without sacrificing the classic texture and taste. Perfect for a weekend breakfast or special occasion, these pastries will impress with minimal fuss.
Ingredients
- 1/4 cup (60ml) warm water (between 100-110°F, 38-43°C)
- 2 and 1/4 teaspoons Platinum Yeast from Red Star (1 standard packet)*
- 1/4 cup (50g) granulated sugar
- 1/2 cup (120ml) whole milk, at room temperature (68–72°F, 20-22°C)
- 1 large egg, at room temperature
- 1 teaspoon salt
- 14 Tablespoons (196g) unsalted butter, cold
- 2 and 1/2 cups (313g) all-purpose flour (spooned & leveled), plus more for generously flouring hands, surface, and dough
- 2/3 cup filling (see recipe notes for options & cheese filling)
- 1 large egg (for egg wash)
- 2 Tablespoons (30ml) milk (for egg wash)
- 1 cup (120g) confectioners’ sugar (for icing)
- 2 Tablespoons (30ml) milk or heavy cream (for icing)
- 1 teaspoon pure vanilla extract (for icing)
Instructions
- Step 1: Whisk the warm water, yeast, and 1 tablespoon (6g) of sugar in a large bowl. Cover and let rest until foamy, about 5 minutes. If no foam appears after 15 minutes, start again with fresh yeast.
- Step 2: Add the remaining sugar, milk, egg, and salt to the yeast mixture. Mix gently, cover lightly, and set aside.
- Step 3: Cut the cold butter into 1/4-inch slices. Add to a food processor with the flour and pulse 12-15 times until the butter is broken into pea-sized pieces.
- Step 4: Pour the flour and butter mixture into the wet ingredients. Gently fold together using a wooden spoon or rubber spatula until the dry ingredients are moistened but butter pieces remain visible. Do not overmix.
- Step 5: Transfer the sticky dough onto plastic wrap or parchment, cover tightly, and refrigerate for at least 4 hours or up to 48 hours.
- Step 6: When ready, generously flour a surface and your hands. Flatten dough into a small square then roll into a 15×8 inch rectangle. Fold into thirds like a letter, turn clockwise, roll again to 15 inches, and fold into thirds. Repeat one more time for a total of three folds.
- Step 7: Wrap the dough tightly and refrigerate for at least 1 hour or up to 24 hours. You may freeze the dough at this stage if desired.
- Step 8: Prepare baking sheets lined with parchment or silicone mats. Remove dough from fridge, cut in half, and keep one half refrigerated while working with the other.
- Step 9: Cut half of the dough into 8 equal portions. Roll each into a ball, then flatten into a 2.5-inch circle with a raised edge and a flattened center to hold filling.
- Step 10: Place pastries 3 inches apart on baking sheets. Spoon 2 teaspoons of fruit filling or 1 tablespoon of cheese filling into the center of each pastry.
- Step 11: Whisk together the egg and milk for the egg wash; brush the edges of each pastry.
- Step 12: Chill shaped pastries in the refrigerator for 15 minutes to 1 hour before baking (optional but recommended).
- Step 13: Preheat the oven to 400°F (204°C). Bake pastries for 19-22 minutes or until golden brown. Butter may leak during baking; you can brush leaking butter back onto pastries halfway through baking.
- Step 14: Remove pastries from oven and cool for at least 5 minutes before icing.
- Step 15: Whisk together confectioners’ sugar, milk or cream, and vanilla to make icing. Adjust thickness by adding more sugar or milk as needed. Drizzle over warm pastries and serve.
Tips & Variations
- Use a food processor for incorporating butter to keep the dough flaky without overworking it.
- If you don’t have a food processor, use a pastry cutter to mix the butter into the flour.
- For fillings, try fruit preserves, almond paste, or cream cheese mixed with sugar.
- Freezing the dough after folding ensures easier handling and better layering.
- Brushing leaking butter back on the pastries during baking keeps edges moist and flavorful.
Storage
Store leftover Danish pastries at room temperature for up to 1 day or refrigerate for up to 5 days, covered. They can also be frozen for up to 3 months; thaw before serving. Reheat iced or un-iced pastries briefly in the microwave for a few seconds to warm.
How to Serve
Serve this delicious recipe with your favorite sides.
FAQs
Can I use active dry yeast instead of Platinum Yeast?
Yes, you can substitute active dry yeast, but ensure it is fresh and proof it properly before mixing with other ingredients to achieve the best rise.
Why is it important not to overmix the dough?
Overmixing can cause the butter to melt and fully incorporate into the flour, resulting in a dense pastry rather than flaky layers. Folding just until combined keeps the butter in discrete pieces that create flakiness.
Print
Danish Pastries with Shortcut Homemade Dough Recipe
- Total Time: 5 hours (includes chilling times)
- Yield: 16 pastries 1x
Description
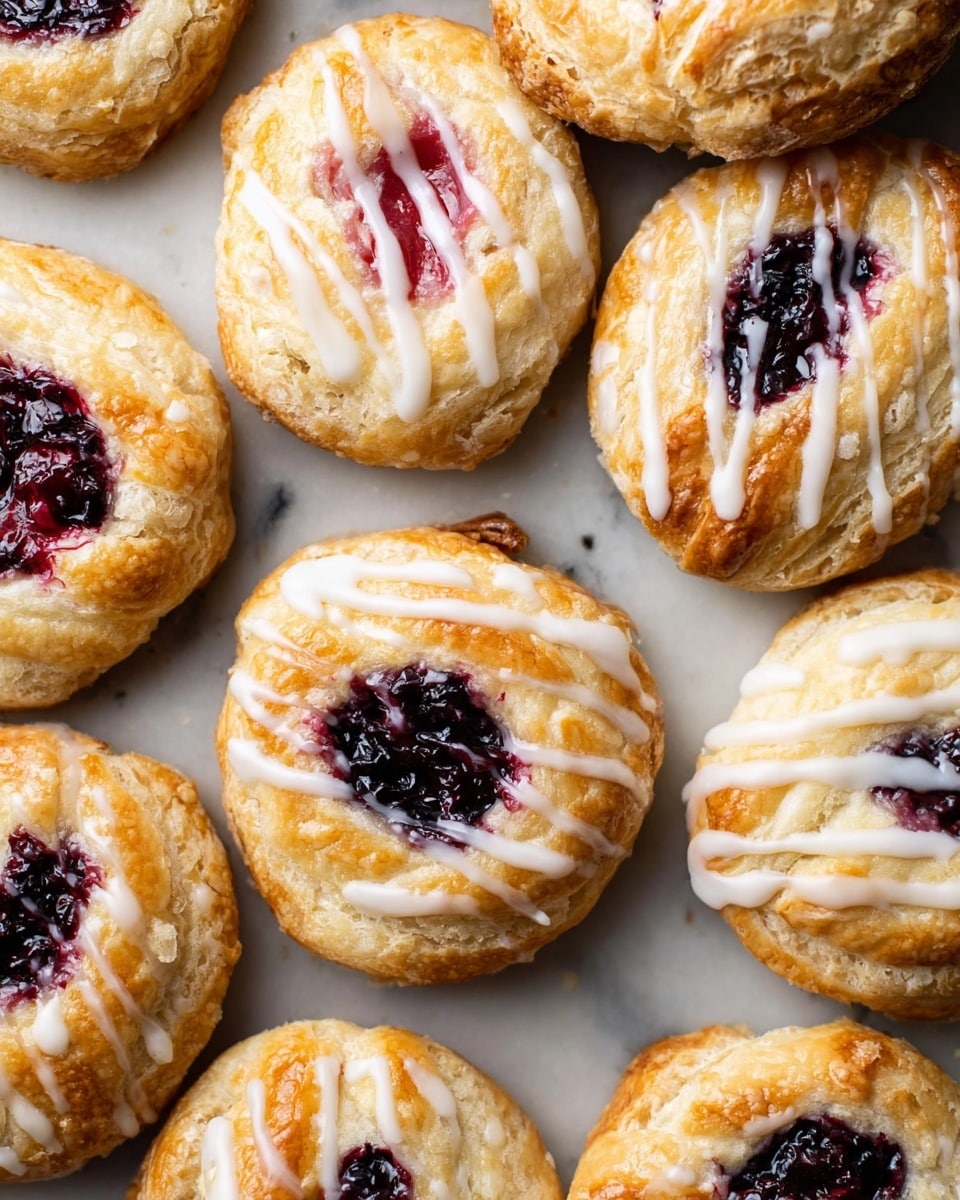
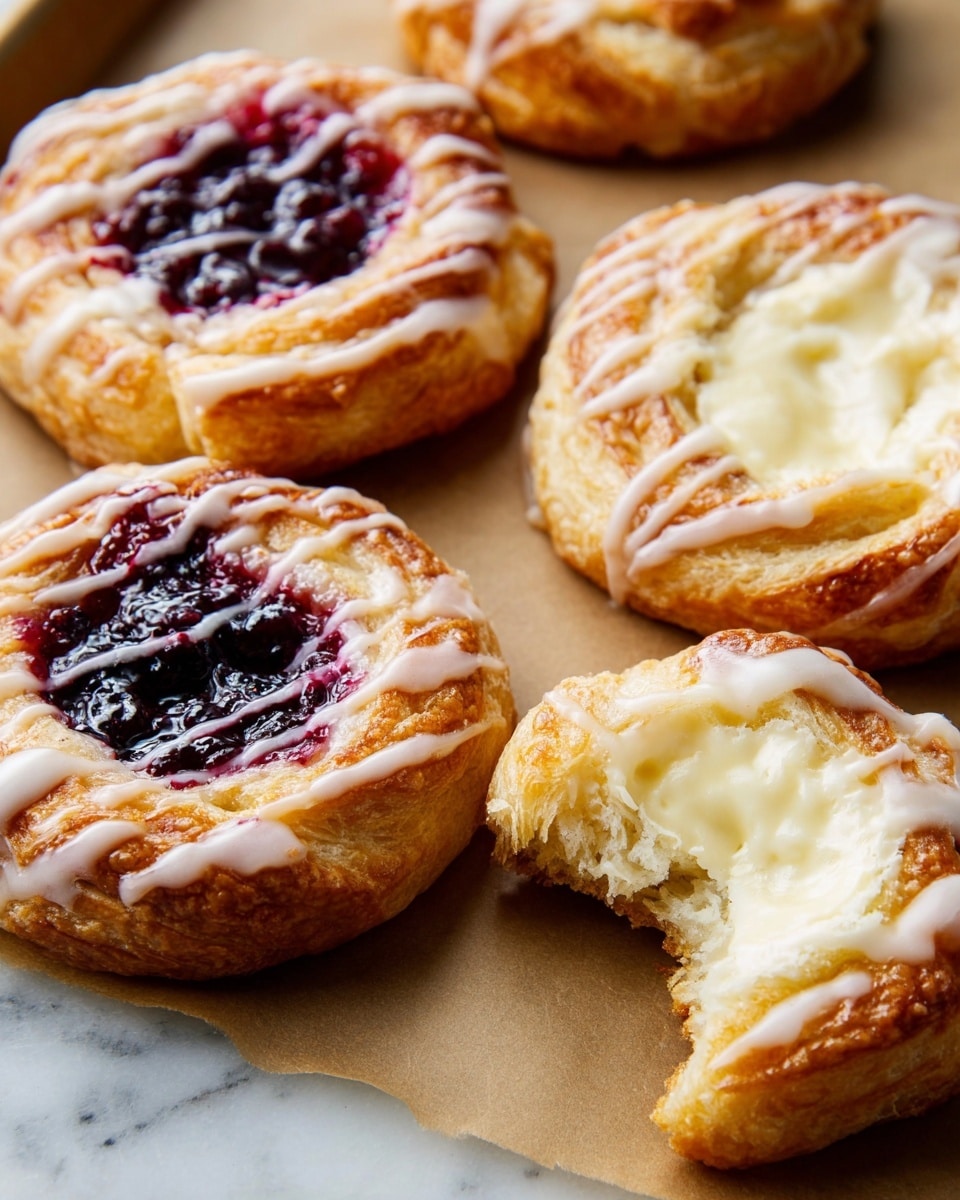
This recipe for Danish Pastries features a shortcut homemade dough method using butter crumbled into flour and minimal mixing for flaky, tender layers. The dough is enriched with milk, eggs, and yeast, then chilled and folded to create classic laminated pastry layers. Filled with your choice of fruit or cheese filling, these pastries are baked to golden perfection and finished with a simple vanilla icing drizzle. Ideal for impressing guests or a special breakfast treat, they combine rich buttery flavor with tender, flaky texture.
Ingredients
For the Dough
- 1/4 cup (60ml) warm water (100-110°F, 38-43°C)
- 2 and 1/4 teaspoons Platinum Yeast from Red Star (1 standard packet)
- 1/4 cup (50g) granulated sugar
- 1/2 cup (120ml) whole milk, at room temperature (68–72°F, 20-22°C)
- 1 large egg, at room temperature
- 1 teaspoon salt
- 14 Tablespoons (196g) unsalted butter, cold
- 2 and 1/2 cups (313g) all-purpose flour (spooned & leveled), plus more for dusting
For the Filling
- 2/3 cup fruity filling or cheese filling (see recipe notes for options)
For the Egg Wash
- 1 large egg
- 2 Tablespoons (30ml) milk
For the Icing
- 1 cup (120g) confectioners’ sugar
- 2 Tablespoons (30ml) milk or heavy cream
- 1 teaspoon pure vanilla extract
Instructions
- Preliminary note: Read through the entire recipe and watch the tutorial if available to fully understand the process. Avoid using an electric mixer; the dough is sticky and best folded gently with a wooden spoon or rubber spatula.
- Make the Pastry Dough: Whisk warm water, yeast, and 1 tablespoon sugar in a large bowl. Cover and let rest until foamy (about 5 minutes). If no foam after 15 minutes, restart with fresh yeast. Then add remaining sugar, milk, egg, and salt; mix gently and cover.
- Prepare the Butter-Flour Mixture: Slice cold butter into 1/4 inch slices. Blend butter and flour in a food processor with 12-15 pulses until butter pieces are pea-sized. Alternatively, use a pastry cutter to work butter into flour.
- Combine Dough: Pour flour-butter mixture into wet ingredients. Gently fold with a rubber spatula or wooden spoon just until combined; butter should remain in small chunks for flakiness. Turn dough onto plastic wrap or parchment.
- First Refrigeration: Wrap dough tightly and refrigerate at least 4 hours, up to 48 hours.
- Roll & Fold: Remove dough and generously flour surface and hands. Flatten dough with palms, then roll into a 15×8 inch rectangle. Fold into thirds like a letter, turn clockwise, and roll/fold two more times for total three folds.
- Second Refrigeration: Wrap dough tightly and refrigerate at least 1 hour, up to 24 hours. Dough can be frozen here.
- Prepare for Baking: Line rimmed baking sheets with parchment or silicone mats. Remove dough, cut in half. Work with one half and keep the other refrigerated or freeze.
- Shape into Pastries: Cut dough half into 8 equal pieces (~1/4 cup each). Roll into balls, flatten to 2.5 inch circles, create a raised edge with fingers, and press center down. Arrange on baking sheet 3 inches apart. Repeat with other half.
- Add Filling: Spoon 2 teaspoons fruit filling or 1 tablespoon cheese filling into center of each pastry.
- Apply Egg Wash: Whisk egg and milk; brush over edges of pastries.
- Chill Pastries (Optional): Refrigerate shaped pastries for 15 minutes to 1 hour to help maintain shape during baking. Preheat oven during chilling.
- Bake: Preheat oven to 400°F (204°C). Bake pastries 19-22 minutes until golden brown and edges are crisp. If butter leaks, remove halfway and brush butter back on dough, then continue baking.
- Cool: Remove from oven and cool at least 5 minutes before icing.
- Make Icing: Whisk confectioners’ sugar, milk or cream, and vanilla extract together. Adjust thickness with more sugar or milk as desired.
- Ice and Serve: Drizzle icing over warm pastries and serve.
- Storage: Store leftover pastries covered at room temperature for 1 day, refrigerated up to 5 days, or freeze up to 3 months. Reheat gently before serving if desired.
Notes
- Do not use an electric mixer for the dough to avoid overworking and melting butter.
- Use a food processor or blender to cut the butter into flour quickly for best texture; pastry cutter works as alternative.
- Generously flour the surface and hands throughout rolling as dough is sticky.
- Filling options include fruit jams, preserves, or sweetened cream cheese.
- Leaving shaped pastries to chill before baking helps them hold their shape and improves flakiness.
- Use rimmed baking sheets or place a second sheet underneath to catch any leaking butter.
- Danish pastries freeze well after the second refrigeration or after baking and icing.
- Reheat leftovers in microwave briefly to restore softness and warmth.
- Prep Time: 25 minutes (mostly active prep before refrigeration)
- Cook Time: 20 minutes
- Category: Breakfast Pastry
- Method: Baking
- Cuisine: Danish/European
Keywords: Danish pastries, homemade pastry dough, shortcut laminated dough, butter pastry, breakfast pastries, fruit-filled pastries, cream cheese filling, baking pastries, easy Danish