Halloween Chocolate Cookies Recipe
Introduction
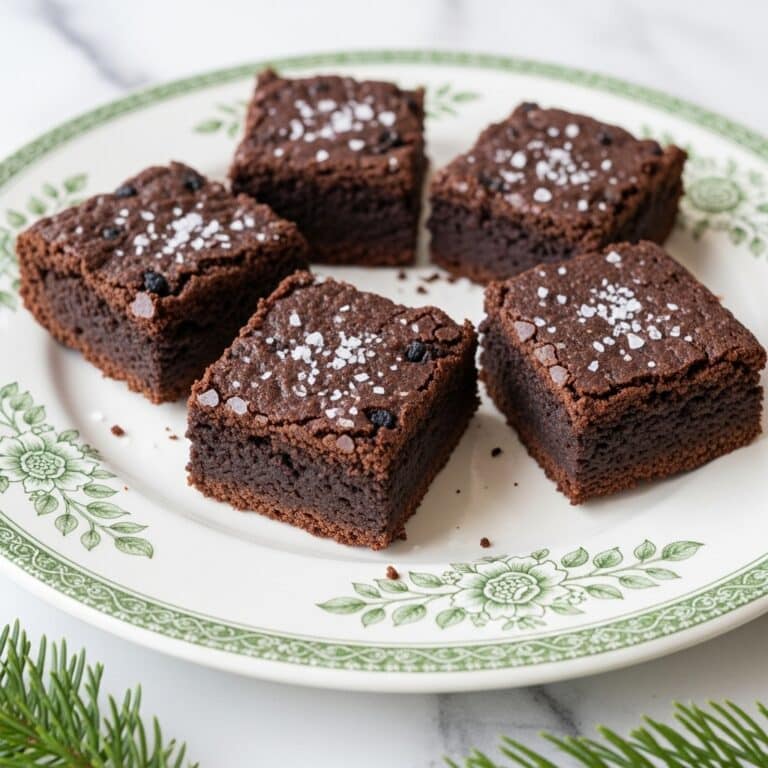
These Halloween Chocolate Cookies are rich, tender, and full of deep cocoa flavor, perfect for festive celebrations. Decorated with colorful royal or cookie icing, they bring spooky fun to any gathering.

Ingredients
- 1 and 1/2 cups (188g) all-purpose flour (spooned & leveled)
- 3/4 cup (62g) unsweetened natural cocoa powder (or dutch process cocoa powder), plus more as needed for rolling and work surface
- 1 teaspoon baking powder
- 1/8 teaspoon salt
- 3/4 cup (12 Tbsp; 170g) unsalted butter, softened to room temperature
- 1 cup (200g) granulated sugar
- 1 large egg, at room temperature
- 1 teaspoon pure vanilla extract
- Royal Icing or Easy Cookie Icing
- Optional: gel food coloring for tinting icings
Instructions
- Step 1: Whisk the flour, cocoa powder, baking powder, and salt together in a medium bowl. Set aside.
- Step 2: Using a hand mixer or stand mixer with a paddle attachment, beat the softened butter and sugar on high speed until smooth and creamy, about 3 minutes. Add the egg and vanilla extract, then beat until combined, about 1 minute. Scrape the bowl as needed.
- Step 3: Add the dry ingredients to the wet ingredients and mix on low speed until combined. The dough will be soft. If too sticky, add 1 more tablespoon of flour.
- Step 4: Divide the dough into two equal parts. Dust two large pieces of parchment paper or silicone mats with cocoa powder or flour. Place each dough half on a piece and roll out to about 1/4-inch thickness, using more dusting if needed to prevent sticking.
- Step 5: Lightly dust one rolled dough with cocoa powder or flour and cover with parchment paper. Place the second rolled dough on top, cover with plastic wrap or foil, and refrigerate for at least 1-2 hours or up to 2 days.
- Step 6: Preheat oven to 350°F (177°C). Line baking sheets with parchment paper or silicone mats. Remove the top dough from the fridge and cut into shapes with cookie cutters. Re-roll scraps and continue cutting until all dough is used. Work quickly to keep dough cool.
- Step 7: Arrange cookies 3 inches apart on baking sheets. Bake for 11-12 minutes, rotating sheets halfway if needed. Let cookies cool on sheets for 5 minutes, then move to a wire rack to cool completely.
- Step 8: Prepare royal or easy cookie icing. Divide into bowls and tint with gel food coloring if desired, starting with 1-2 drops and adding more as needed.
- Step 9: Spoon icing into piping bags fitted with a small round tip. Pipe a thin border around each cookie, then fill the center with icing. Add details or sprinkles as desired, allowing layers of royal icing to set before adding more intricate decorations.
- Step 10: Allow icing to dry: royal icing takes about 2 hours, easy glaze icing about 24 hours. Optionally, place decorated cookies in the refrigerator to speed drying.
- Step 11: Enjoy immediately or wait until icing is fully set. Store covered at room temperature for up to 5 days, or refrigerate for up to 10 days.
Tips & Variations
- If the dough feels too sticky to roll, add a tablespoon of flour at a time until it firms up enough to handle.
- Use cocoa powder instead of flour for dusting to keep the cookies rich and chocolatey on the edges.
- For fine details and layering on decorations, royal icing is best; use easy glaze icing for a quicker, simpler finish.
- Practice piping on parchment paper before decorating your cookies to get comfortable with the flow of the icing.
Storage
Store decorated or plain cookies in an airtight container at room temperature for up to 5 days to keep them soft. For longer storage, refrigerate tightly covered for up to 10 days. Reheat briefly at room temperature before serving. If icing feels tacky, allow more drying time.
How to Serve

Serve this delicious recipe with your favorite sides.
FAQs
Can I use Dutch process cocoa powder instead of natural cocoa?
Yes, Dutch process cocoa can be used interchangeably and will produce a slightly smoother, less acidic chocolate flavor.
How can I prevent my cookies from spreading too much during baking?
Make sure your dough is well chilled before cutting and baking, and handle it quickly to prevent warming. Also, avoid over-sugaring or using too soft butter to reduce spreading.
Print
Halloween Chocolate Cookies Recipe
- Total Time: 3 hours (including chilling and decorating time)
- Yield: About 24–30 medium-sized cookies depending on cutter size 1x
Description
These Halloween Chocolate Cookies are rich, soft, and perfectly chocolatey, ideal for festive decorating. Rolled and cut into classic spooky shapes, they are chilled to maintain their form, then baked to tender perfection. The cookies can be adorned with colorful royal or easy cookie icing, making them a delightful seasonal treat for parties, gifting, or enjoying with family.
Ingredients
Dry Ingredients
- 1 and 1/2 cups (188g) all-purpose flour (spooned & leveled)
- 3/4 cup (62g) unsweetened natural cocoa powder (or Dutch process cocoa powder), plus more as needed for rolling and work surface
- 1 teaspoon baking powder
- 1/8 teaspoon salt
Wet Ingredients
- 3/4 cup (12 Tbsp; 170g) unsalted butter, softened to room temperature
- 1 cup (200g) granulated sugar
- 1 large egg, at room temperature
- 1 teaspoon pure vanilla extract
For Decoration
- Royal Icing or Easy Cookie Icing
- Optional: gel food coloring for tinting icings
Instructions
- Make the cookie dough: In a medium bowl, whisk together flour, cocoa powder, baking powder, and salt. In a large bowl, beat butter and sugar on high speed until smooth and creamy (about 3 minutes). Add the egg and vanilla extract, beating until combined. Gradually mix in dry ingredients on low speed until just combined. If dough is too sticky, add 1 tablespoon more flour.
- Roll the dough: Divide dough into two equal parts. Dust parchment paper or silicone baking mats with cocoa powder or flour. Place each dough half on the papers and roll out to 1/4-inch thickness, dusting rolling pin as needed to prevent sticking.
- Chill the dough: Dust one rolled dough lightly with cocoa powder or flour, place parchment on top, then the second rolled dough on top. Cover with plastic wrap or foil and refrigerate for 1–2 hours or up to 2 days.
- Preheat oven & shape cookies: Preheat oven to 350°F (177°C). Line baking sheets with parchment or silicone mats. Remove chilled dough, cut shapes using cookie cutters. Re-roll scraps to use all dough, keeping dough cool by refrigerating any soft pieces if needed.
- Bake & cool: Arrange cookies 3 inches apart on baking sheets. Bake 11–12 minutes until edges are set. Rotate sheets halfway if needed. Let cool on baking sheet 5 minutes, then transfer to wire racks to cool completely.
- Make icing: Prepare royal or easy cookie icing. Divide into bowls and tint with gel food coloring as desired, starting with 1–2 drops and adding more for intensity.
- Decorate the cookies: Fill piping bags fitted with Wilton #4 tip. Pipe borders and fill centers with a thin layer of icing. Add details and sprinkles while icing is wet. For layered details, especially with royal icing, allow layers to set between applications. Use extra powdered sugar to thicken royal icing if needed.
- Let icing dry/set: Allow royal icing to dry about 2 hours and easy glaze icing about 24 hours at room temperature. Optionally refrigerate to speed drying. Do not cover cookies while icing sets.
- Enjoy & store: Serve after icing sets or immediately if preferred. Store cookies covered tightly at room temperature for up to 5 days or refrigerate up to 10 days.
Notes
- If dough is too soft for rolling, add extra flour 1 tablespoon at a time.
- Use cocoa powder for dusting instead of flour for richer flavor and darker appearance.
- Keep dough and dough scraps cool to prevent softening during cutting.
- When tinting black icing, multiple drops of gel color may be necessary; color deepens as icing dries.
- Royal icing is best for fine details and layering; easy glaze icing works well for simple decorations.
- To thicken royal icing, beat in 2-3 tablespoons of confectioners’ sugar.
- Decorated cookies remain soft about 5 days at room temperature if stored properly.
- For longer storage, refrigerate cookies up to 10 days, ensuring they’re covered tightly.
- If adding eyeballs or delicate decorations, pipe a small dot of icing on the piece’s back to adhere securely.
- Prep Time: 20 minutes
- Cook Time: 12 minutes per batch
- Category: Dessert/Cookie
- Method: Baking
- Cuisine: American
Keywords: Halloween cookies, chocolate cookies, decorated sugar cookies, holiday treats, royal icing cookies, cocoa cookies