Gluten-Free Lemon Bars Recipe
Introduction
These gluten-free lemon bars offer a perfect balance of tangy lemon flavor and a tender, buttery crust. They’re a refreshing treat that anyone can enjoy, whether you follow a gluten-free diet or simply love bright, zesty desserts.
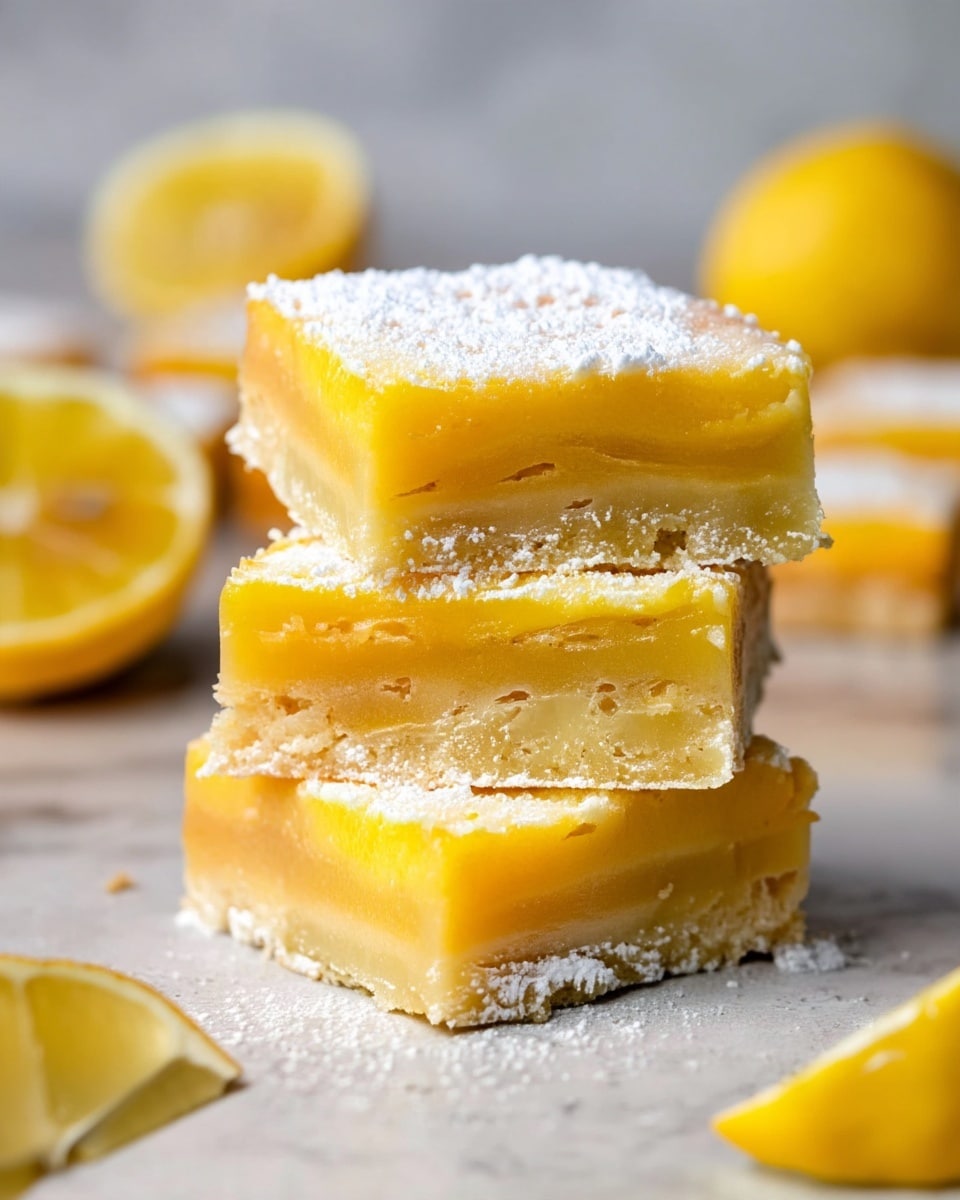
Ingredients
- 1 cup gluten-free all-purpose flour blend (gum-free)
- 1/3 cup confectioners’ sugar (plus extra for dusting)
- 1/4 teaspoon salt
- 2 teaspoons lemon zest
- 1/2 cup unsalted butter (melted and cooled)
- 4 large eggs (at room temperature)
- 1 cup granulated sugar
- 1 teaspoon baking powder
- 2/3 cup lemon juice (freshly squeezed, about 4 lemons)
- 1/2 cup gluten-free all-purpose flour blend
Instructions
- Step 1: Preheat your oven to 325°F. Grease an 8-inch square pan and line it with parchment paper, leaving an overhang on the sides for easy removal.
- Step 2: In a bowl, whisk together 1 cup gluten-free flour, confectioners’ sugar, salt, and lemon zest. Stir in the melted butter. If the mixture feels too dry, add a little more melted butter until it can be pressed evenly into the pan.
- Step 3: Press the crust mixture firmly into the prepared pan. Bake it for 15-20 minutes, until it firms up and just starts to set. Remove it from the oven and allow it to cool briefly.
- Step 4: In a separate bowl, whisk together the eggs, granulated sugar, baking powder, lemon juice, and 1/2 cup gluten-free flour until smooth and fully combined.
- Step 5: Pour the lemon filling evenly over the warm crust.
- Step 6: Return the pan to the oven and bake for 22-27 minutes, until the filling is just set but still has a slight jiggle in the center when gently shaken.
- Step 7: Let the lemon bars cool in the pan for about 20 minutes, then transfer the pan to the refrigerator and chill for at least 2 hours to firm up completely.
- Step 8: Once chilled, use the parchment overhang to lift the bars out of the pan. Dust with extra confectioners’ sugar and cut into 12 squares. Serve cold for best results.
Tips & Variations
- Use freshly squeezed lemon juice for the best bright, natural flavor.
- If your flour blend contains xanthan gum, you can omit extra thickening ingredients; otherwise, ensure your blend is suitable for baking.
- Add a tablespoon of poppy seeds to the filling for a delicate crunch and added texture.
- For a dairy-free version, substitute the butter with a vegan margarine or coconut oil.
Storage
Store the lemon bars covered in an airtight container in the refrigerator for up to 4 days. For longer storage, you can freeze the bars (cut or whole) wrapped tightly in plastic wrap and foil for up to 2 months; thaw in the refrigerator before serving. Reheat briefly at room temperature or enjoy chilled.
How to Serve
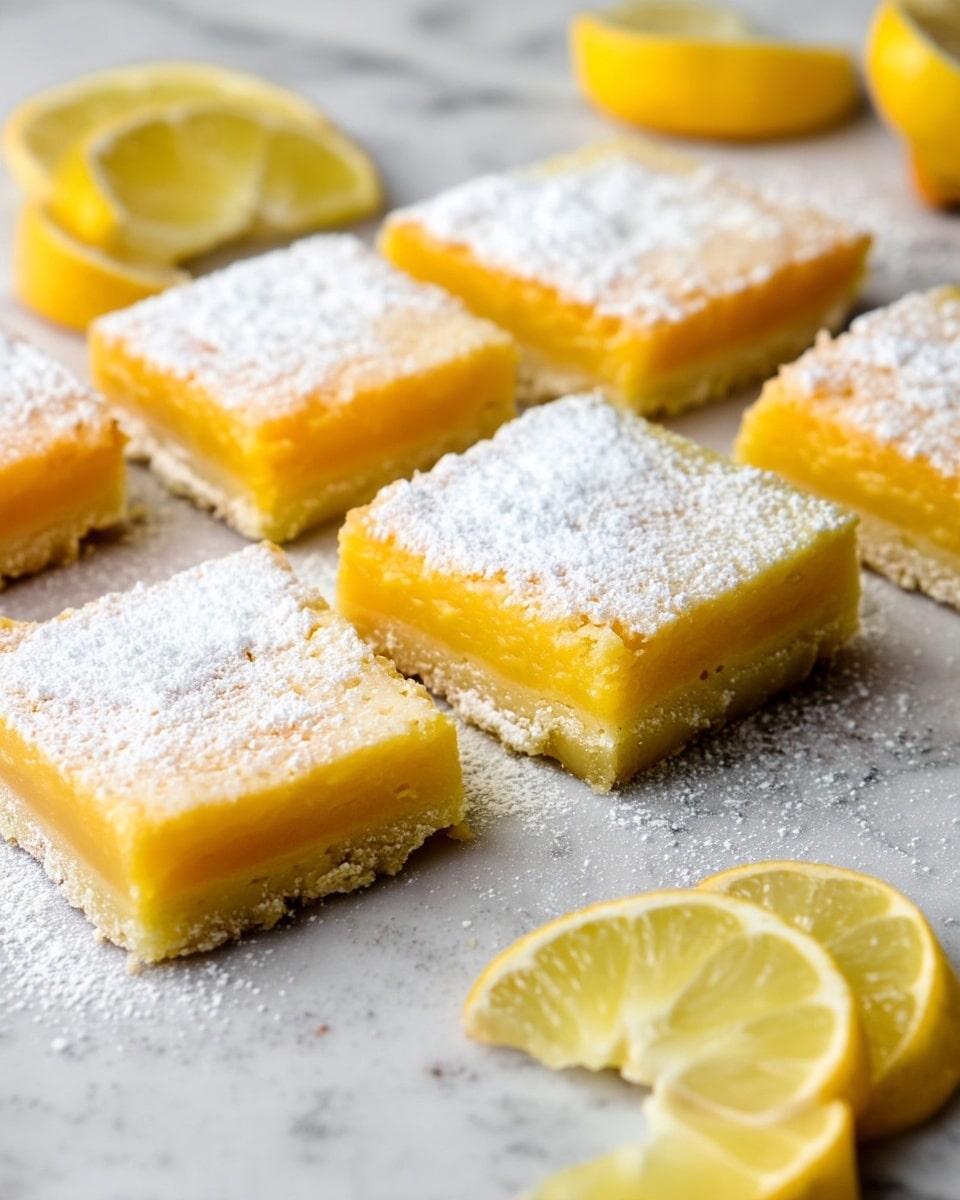
Serve this delicious recipe with your favorite sides.
FAQs
Can I use regular all-purpose flour instead of gluten-free?
Yes, you can substitute regular all-purpose flour in the same quantities if gluten is not a concern. The texture might be slightly different but still delicious.
How do I prevent the filling from cracking?
Be careful not to overbake the filling; it should have a slight jiggle when you remove it from the oven. Allowing the bars to cool gradually and chilling them helps prevent cracks.
Print
Gluten-Free Lemon Bars Recipe
- Total Time: 3 hours (including chilling time)
- Yield: 12 lemon bars 1x
- Diet: Gluten Free
Description
Deliciously tangy and sweet gluten-free lemon bars with a crisp, buttery crust and a smooth, vibrant lemon filling. Perfect for a refreshing dessert or snack that is suitable for those avoiding gluten.
Ingredients
Crust
- 1 cup gluten-free all-purpose flour blend (gum-free)
- 1/3 cup confectioners’ sugar (plus extra for dusting)
- 1/4 teaspoon salt
- 2 teaspoons lemon zest
- 1/2 cup unsalted butter (melted and cooled)
Filling
- 4 large eggs (at room temperature)
- 1 cup granulated sugar
- 1 teaspoon baking powder
- 2/3 cup lemon juice (freshly squeezed, juice of about 4 lemons)
- 1/2 cup gluten-free all-purpose flour blend
Instructions
- Preheat oven: Preheat your oven to 325°F (163°C). Grease an 8-inch square pan and line it with parchment paper, leaving an overhang on the sides for easy removal later.
- Prepare crust mixture: In a bowl, whisk together gluten-free flour, confectioners’ sugar, salt, and lemon zest. Stir in the melted butter, adding more if necessary until the mixture holds together and can be evenly pressed into the pan.
- Bake crust: Press the crust mixture firmly into the prepared pan. Bake in the preheated oven for 15-20 minutes until it firms up and just begins to set. Remove from oven and allow to cool slightly.
- Make lemon filling: In a separate bowl, whisk the eggs, granulated sugar, baking powder, lemon juice, and gluten-free flour until smooth and fully combined.
- Assemble bars: Pour the lemon filling evenly over the warm crust to ensure even cooking and a smooth top.
- Bake lemon bars: Return the pan to the oven and bake for 22-27 minutes until the filling is just set but with a slight jiggle in the center when the pan is gently moved.
- Cool and chill: Remove from the oven and cool at room temperature for about 20 minutes. Then transfer the pan to the refrigerator and chill for at least 2 hours to firm up the bars properly.
- Slice and serve: Use the parchment paper overhang to lift the bars from the pan. Dust the top with additional confectioners’ sugar, then cut into 12 squares. Serve chilled for the best texture and flavor.
Notes
- Make sure the eggs are at room temperature for a smoother filling.
- Using freshly squeezed lemon juice enhances the bright citrus flavor.
- For a more intense lemon taste, you can add extra lemon zest to the filling.
- Ensure the crust is baked just until set to avoid over-browning.
- Chilling is crucial to achieving firm, clean slices.
- Prep Time: 15 minutes
- Cook Time: 45 minutes
- Category: Dessert
- Method: Baking
- Cuisine: American
Keywords: gluten-free lemon bars, gluten-free dessert, lemon dessert, citrus bars, gluten-free baking